Seagate Game Drive PS5 NVMe Installation Guide
- 1 Introduction
-
2
Installing Game Drive PS5 NVMe SSD
- 2.1 Step 1 - Turn off your console
- 2.2 Step 2 - Remove the console cover
- 2.3 Step 3 - Remove expansion slot cover
- 2.4 Step 4 - Remove SSD screw
- 2.5 Step 5 - Insert Game Drive PS5 SSD
- 2.6 Step 6 - Fasten Game Drive PS5 SSD
- 2.7 Step 7 - Attach expansion slot cover
- 2.8 Step 8 - Replace console cover
- 2.9 Step 9 - Reconnect
- 3 Support & Services
- 4 References
- 5 Download manual
- 6 In Other Languages
Introduction
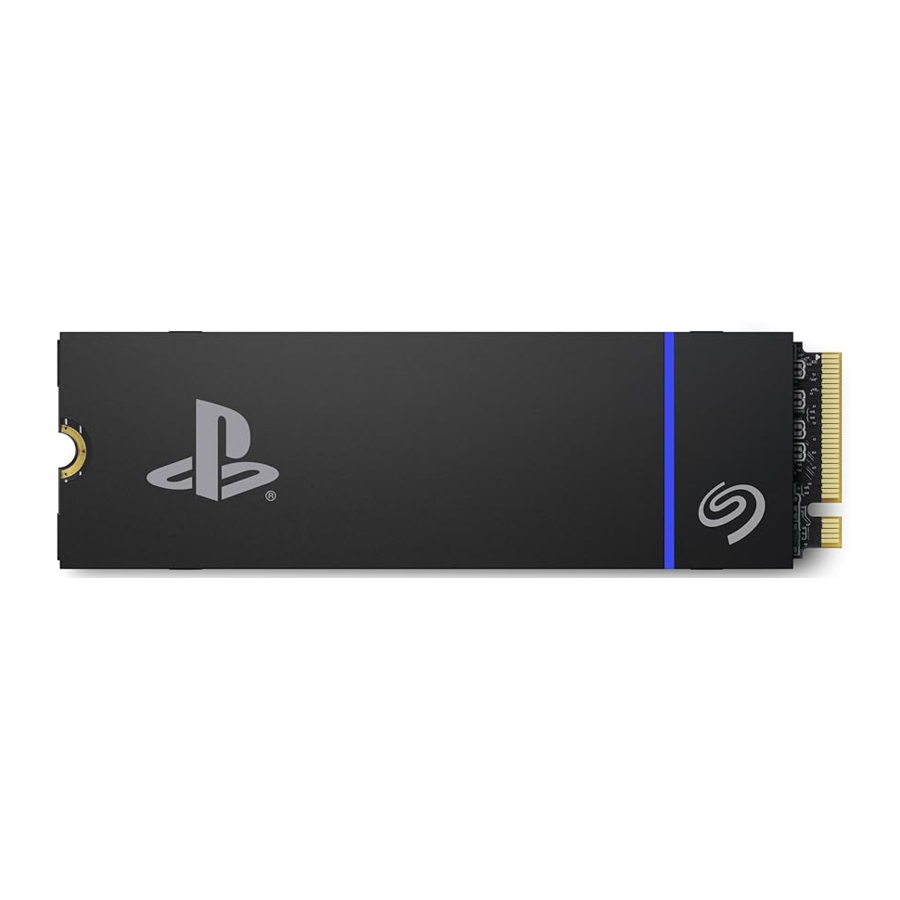
Product information
- Intended for PlayStation®5 consoles.
- Game Drive PS5® NVMe™ SSD's heatsink is pre-installed. Removing it may damage Game Drive PS5 NVMe SSD.
- Dimensions of Game Drive PS5 NVMe SSD are 80.15 mm (L) x 24.22 mm (W) x 11.10 mm (H). Verify that your system provides enough space for installation.
Before installing
- Make sure your system software is up to date.
- Press and hold the power button for three seconds to turn off your PS5 console.
- Remove all cables and devices from your PS5 console and wait for it to cool down.
- Touch a metal-grounded object to remove any static electricity from your body. Failure to do so may damage Game Drive PS5 NVMe SSD or your PS5 console.
- Do not power on or play on your console while the cover is off.
 If you have not used Game Drive PS5 NVMe SSD before, you will need to format it after completing the installation. Formatting Game Drive PS5 NVMe SSD will erase any saved data on the drive. Make sure you've backed up any important data on the drive before installing.
Equipment
To install Game Drive PS5 NVMe SSD, you will need:
- well-lit room with a clean table to work on.
- #1 Phillips (cross-head) screwdriver.
- small flashlight (optional)
Installing Game Drive PS5® NVMe™ SSD
Step 1 - Turn off your console
Remove all cables and devices connected to your console. Wait a while for your console to cool down.
Place your console on a flat surface with a clean protective covering. Remove the base and position the console so that the logo is facing down, with the power button facing away from you.
Step 2 - Remove the console cover
Grip the bottom-right and top-left corners of the cover.

- Gently lift the right side of the cover.
- Slide the cover off to the left.
Step 3 - Remove expansion slot cover
Locate the rectangular expansion slot cover. Remove the screw, and then remove the cover.

Step 4 - Remove SSD screw
Carefully remove the SSD screw in the slot and lift up the spacer.

Move the spacer to the groove marked "80".

Step 5 - Insert Game Drive PS5 SSD
Carefully insert Game Drive PS5 NVMe SSD into the expansion connector until it is firmly seated in the slot.


Make sure Game Drive PS5 NVMe SSD is inserted all the way into the expansion connector before proceeding to the next step. If Game Drive PS5 NVMe SSD is incorrectly inserted it may cause damage to the terminal and your console.
Step 6 - Fasten Game Drive PS5 SSD
Ensure that Game Drive PS5 NVMe SSD is flush with the spacer. Fasten the SSD to the spacer with the SSD screw.

Step 7 - Attach expansion slot cover
Attach the expansion slot cover and fasten the screw.

Step 8 - Replace console cover
Position the cover slightly away from the top edge of the console and slide it back into place. You'll hear a click when the cover is secured.

Step 9 - Reconnect
Reattach the base and connect the AC power cord and cables.
Turn on the power. If your Game Drive PS5 NVMe SSD has never been used on a console, you should see instructions for formatting it.
Support & Services
Online support and services
Go to www.seagate.com/contacts.
Warranty support
Go to www.seagate.com/support/warranty-and-replacements.
References

Download manual
Here you can download full pdf version of manual, it may contain additional safety instructions, warranty information, FCC rules, etc.
Download Seagate Game Drive PS5 NVMe Installation Guide


