NETGEAR GS316 Installation Guide
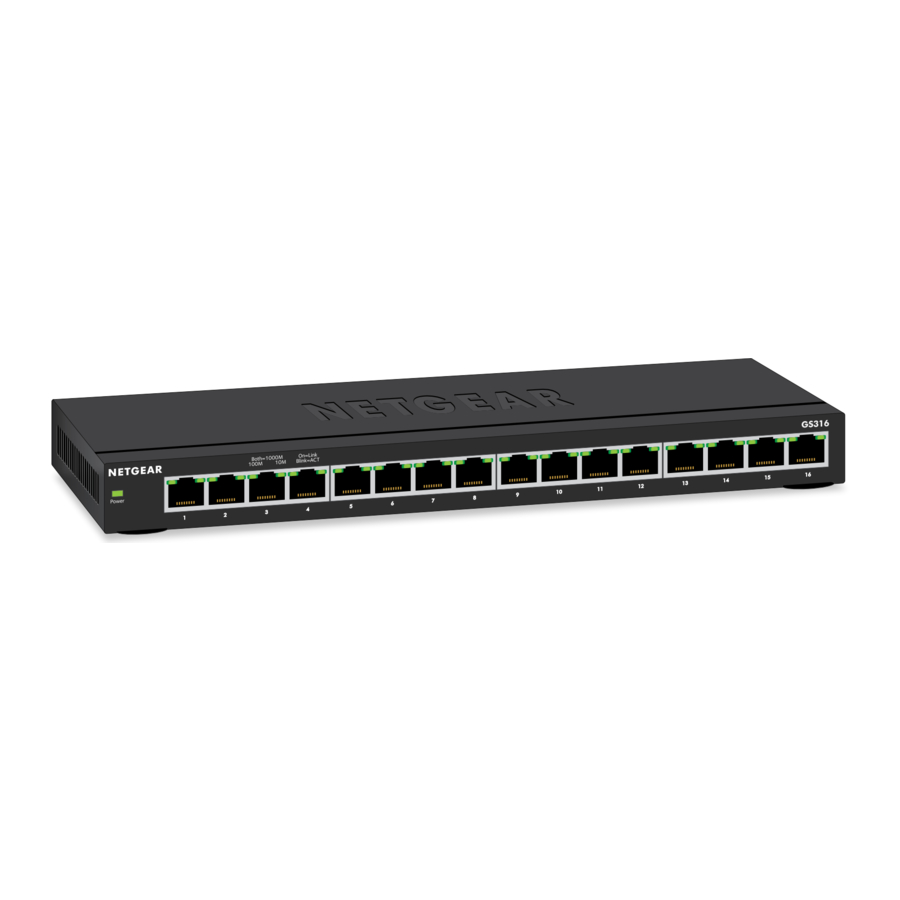
Package contents
- NETGEAR 16-Port Gigabit Ethernet Unmanaged Switch Model GS316
- Power adapter (varies by region)
- Wall-mount screws
- Rubber foot pads
- Installation guide
Register the switch
- From a computer or mobile device that is connected to the Internet, visit my.netgear.com.
- Log in to your NETGEAR account.
NOTE: If you don't have a free NETGEAR account, you can create one. The My Products page displays. - From the menu on the left, select Register a Product.
- In the Serial Number field, type the serial number of your switch. The serial number is 13 digits long. It is printed on the switch label.
- From the Date of Purchase menu, select the date that you purchased the switch.
- Click the REGISTER button.
Your switch is registered to your NETGEAR account.
A confirmation email is sent to your NETGEAR account email address.
Connect the equipment

Sample connections
This switch is designed for indoor use only. If you want to connect it to a device located outdoors, the outdoor device must be properly grounded and surge protected, and you must install an Ethernet surge protector inline between the switch and the outdoor device. Failure to do so can damage the switch.
 Before connecting this switch to outdoor cables or devices, see https://kb.netgear.com/000057103 for safety and warranty information.
Connect to power

Check the status

| Power LED | |||
 | Powered on |  | Powered off |
| Left Port LED | Right Port LED | Speed and Activity |
 |  | 1000 Mbps link (both port LEDs are solid green). During activity, both port LEDs are blinking. |
 |  | 100 Mbps link (left port LED is solid green, right port LED is off). During activity, the left port LED is blinking. |
 |  | 10 Mbps link (left port LED is off, right port LED is solid green). During activity, the right port LED is blinking. |
Attach the switch to a wall
To attach the switch to a wall, you need the wall-mount screws that are supplied with the switch.
To attach the switch to a wall:
- Locate the two mount holes on the bottom panel of the switch.
- Mark and drill two mounting holes in the wall where you want to mount the switch. The two mounting holes must be 5.67 in. (144 mm) apart, center-to-center.
- Insert the supplied anchors into the wall and tighten the supplied screws with a No. 2 Phillips screwdriver. Leave about 0.125 in. (4 mm) of each screw protruding from the wall so that you can insert the screws into the holes on the bottom panel.
Specifications
| Specification | Description |
| Network interface | RJ-45 connector for 1000BASE-T, 100BASE-TX, or 10BASE-T |
| Network cable | Category 5e (Cat 5e) or higher rated Ethernet cable |
| Ports | 16 |
| Power | 100-240VAC 50/60 Hz, 1.0A |
| Power consumption | 8.4W max. |
| Weight | 1.86 lb. (0.84 kg) |
| Dimensions (W x D x H) | 11.3 x 4.0 x 1.0 in (286 x 101 x 26 mm) |
| Operating temperature | 32–104°F (0–40°C) |
| Operating humidity | 10%–90% relative humidity, noncondensing |
Support and Community
Visit netgear.com/support to get your questions answered and access the latest downloads.
You can also check out our NETGEAR Community for helpful advice at community.netgear.com.
References
Do I need to use a surge protector with my NETGEAR Business device? - NETGEAR Support
![community.netgear.com]() http://community.netgear.com
http://community.netgear.com


Download manual
Here you can download full pdf version of manual, it may contain additional safety instructions, warranty information, FCC rules, etc.
Download NETGEAR GS316 Installation Guide


