How to Enable Wi-Fi on Canon EOS 2000D
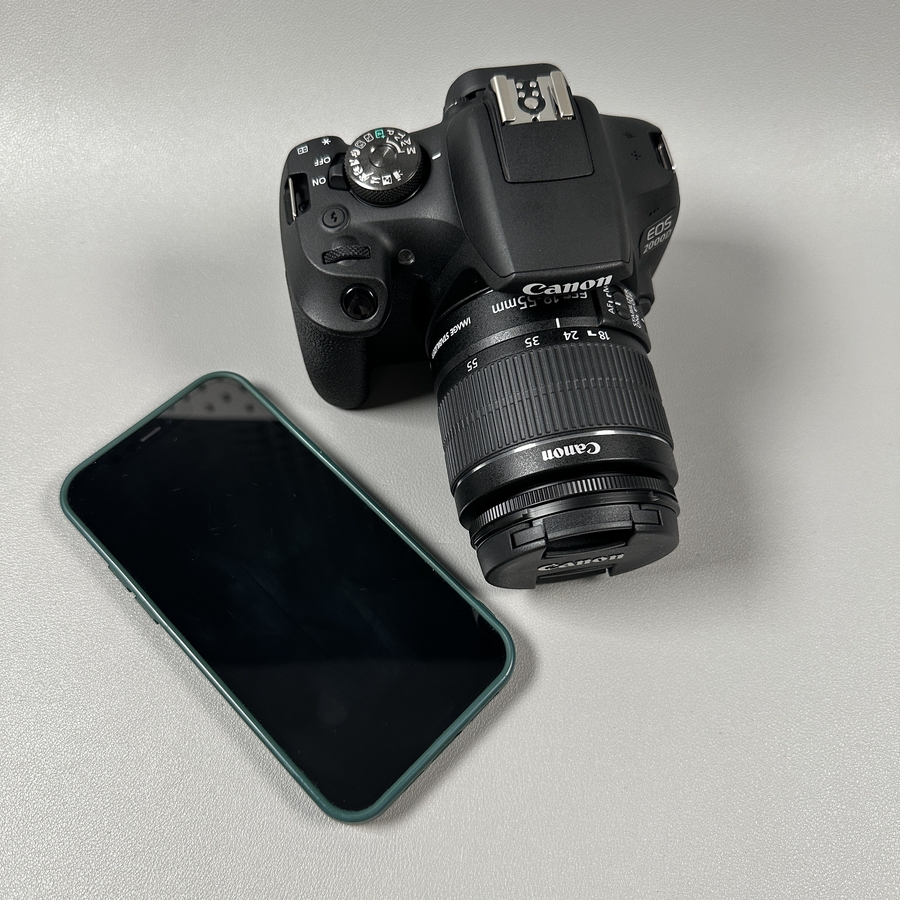
Connecting your Canon EOS 2000D camera to your phone via Wi-Fi opens up a world of convenient features, allowing you to easily transfer photos and control your camera remotely. In this guide, we will walk you through the steps to enable WiFi on your camera, making this process as simple as possible.
Step 1: Power On Your Camera
First, make sure your Canon EOS 2000D camera is turned on and ready for adjustments. You can do this by switching the power button to the On position. Look for the button beside the mode dial on the top of your camera.

Step 2: Access the Menu
Next, it's time to enter the camera's menu. Locate the 'Menu' button, typically found on the back of your camera. Press this button to bring up the main set of options on your camera's display screen.

Step 3: Navigate to Wi-Fi/NFC Settings
Within the menu, use the cross keys to scroll through and find the Wi-Fi/NFC settings page. This dedicated area allows you to manage wireless features of your camera. Once located, press the Set button to proceed into this menu.

Step 4: Enable Wi-Fi
In the Wi-Fi/NFC settings, you will find an option to enable Wi-Fi. Select this option and confirm your choice Ok by pressing Set button. And press Menu button and choice Ok to confirm. This will turn on the WiFi functionality of your camera, allowing it to connect with compatible devices like your smartphone.


By following these straightforward steps, you've successfully enabled WiFi on your Canon EOS 2000D, readying it for connection to your phone. Enjoy the seamless experience of transferring photos and trying new shooting techniques with remote control from your smartphone.