How to Set Up WiFi Connection for Smartphones on Canon EOS 2000D
- 1 Step 1: Turn On Your Camera
- 2 Step 2: Access the Camera Menu
- 3 Step 3: Enable Wi-Fi/NFC
- 4 Step 4: Choose the Smartphone Option
- 5 Step 5: Opt for Easy Connection
- 6 Step 6: Note Network Details
- 7 Step 7: Connect Your Smartphone
- 8 Step 8: Launch Canon Camera Connect App. Then, with your smartphone connected to the camera's Wi-Fi.
- 9 Step 9: Transfer Images or Use Remote Live View Shooting
- 10 In Other Languages
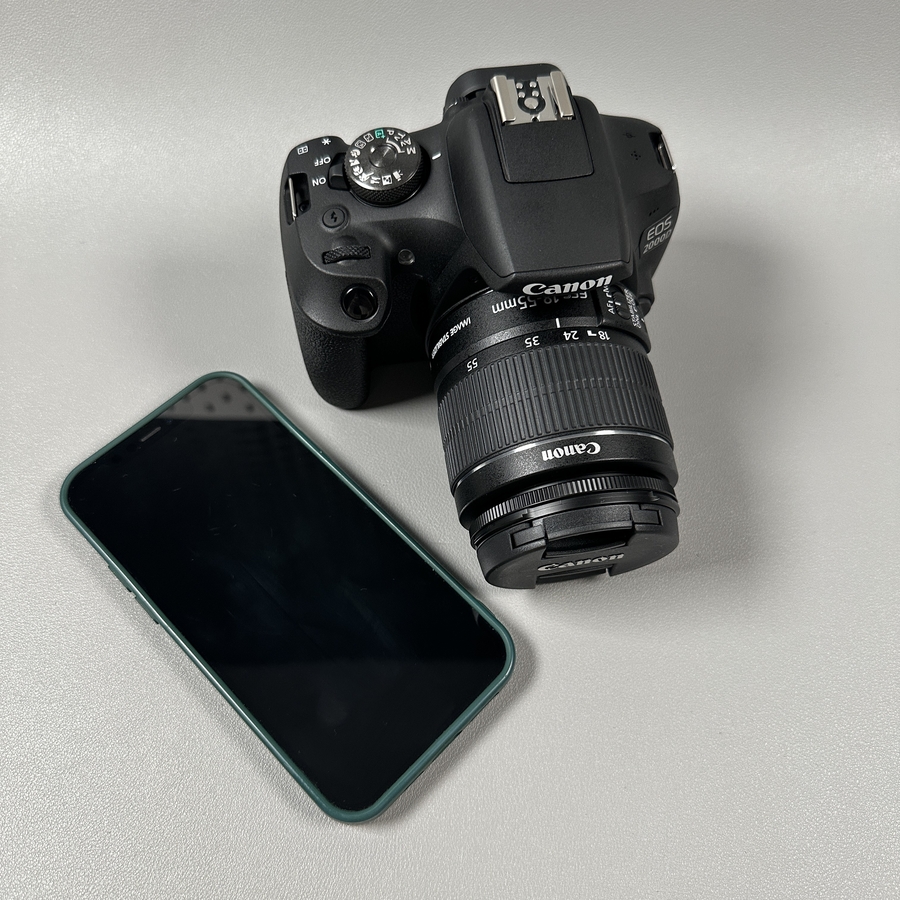
Welcome to this comprehensive guide on connecting your Canon EOS 2000D to your smartphone using Wi-Fi. By following these steps, you'll be able to easily transfer photos and use your smartphone for remote control shooting with your camera. Let's dive in!
Step 1: Turn On Your Camera
Begin by ensuring your Canon EOS 2000D is powered on. Simply rotate the power switch to the "On" position to wake up your camera, preparing it for the next steps.

Step 2: Access the Camera Menu
Once your camera is on, press the Menu button. You'll find this button located on the back of the camera, often marked with the word Menu. This action will take you to the camera's main setup interface.

Step 3: Enable Wi-Fi/NFC
Using the navigation buttons, scroll to the last yellow wrench icon, where you will find the Wi-Fi/NFC settings. Ensure this option is set to Enabled. This will activate the camera's Wi-Fi functions, allowing it to connect to other devices.


Step 4: Choose the Smartphone Option
Proceed to the Wi-Fi function setting and select Smartphone from the list of available options. This instructs the camera that you wish to connect it to a smartphone.

Step 5: Opt for Easy Connection
When prompted to choose a connection method, select Easy Connection. This requires minimal configuration, simplifying the setup process for a quick connection.

Step 6: Note Network Details
A new screen will display the network details, including the Wi-Fi name and an eight-digit encryption key. Take a moment to carefully note down this information, as it will be essential for connecting your phone to the camera.

Step 7: Connect Your Smartphone
Grab your smartphone and head over to its Wi-Fi settings. Look for your camera's Wi-Fi name in the available networks list, often displayed. Select this network and, when prompted, enter the eight-digit password you noted earlier.

Step 8: Launch Canon Camera Connect App. Then, with your smartphone connected to the camera's Wi-Fi.
Launch the Canon Camera Connect app on your device. Follow the prompts within the app to establish the connection. Once linked, you should see options like Image Transfer and Remote Live View Shooting appear.


Step 9: Transfer Images or Use Remote Live View Shooting
With the connection established, you can now transfer images from the camera to your smartphone. Select Image Transfer, choose the images you wish to import, and complete the transfer.