Connecting Your Sonos Roam 2 to a New Wi-Fi Network
Setting up your Sonos Roam 2 speaker to connect to a new Wi-Fi network is simple and straightforward. In this guide, we'll walk you through each step to ensure your smart speaker is seamlessly integrated with your home's wireless network.
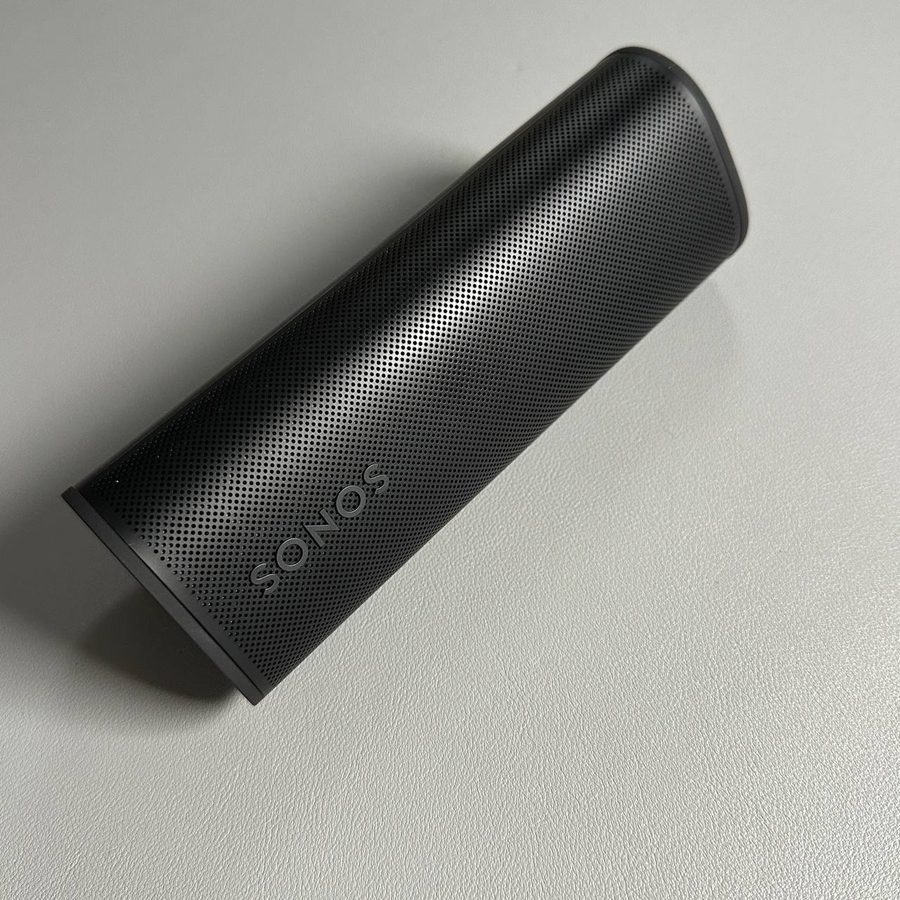
Step 1: Power On Your Sonos Roam 2
To begin, make sure your Sonos Roam 2 speaker is turned on. You can do this by pressing the button located on the back of the speaker. Look for the indicator light to confirm it is powered on.

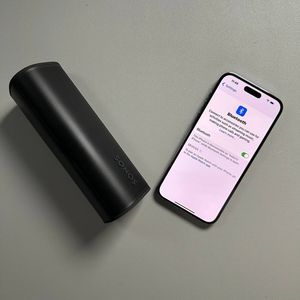
Step 2: Open the Sonos App
Next, unlock your iOS or Android device and locate the Sonos app. Open the app to access your device's settings. If you haven't already installed the app, visit the App Store on your iPhone or Google Play Store on your Android device to download it.
Step 3: Access Network Settings
Within the Sonos app, tap the settings icon located typically at the bottom or top right corner. From here, select 'System' to access the network settings. Then, choose 'Network' and tap on 'Manage Networks' to proceed.

Step 4: Update the Wi-Fi Network
Now, tap the option that says 'Manage Networks'. Then tap on the Update Networks. This will prompt the app to guide you through reconnecting your speaker to the updated Wi-Fi network. Follow the on-screen instructions carefully.


Step 5: Select and Connect to the New Network
During the process, make sure to press and hold the play/pause button and the volume up button on your Sonos Roam 2 simultaneously. Wait for the indicator light to turn green. Then, select 'Use a Different Network' if prompted, and choose your desired Wi-Fi network from the list. Enter the password when asked and proceed to connect.

Step 6: Finalize the Connection
After successfully inputting your Wi-Fi password, tap 'Connect,' and then 'Done' to complete the setup. Your Sonos Roam 2 should now be connected to the new Wi-Fi network. Enjoy seamless music streaming and other smart features.
Thank you for following this guide on connecting your Sonos Roam 2 to a new Wi-Fi network.