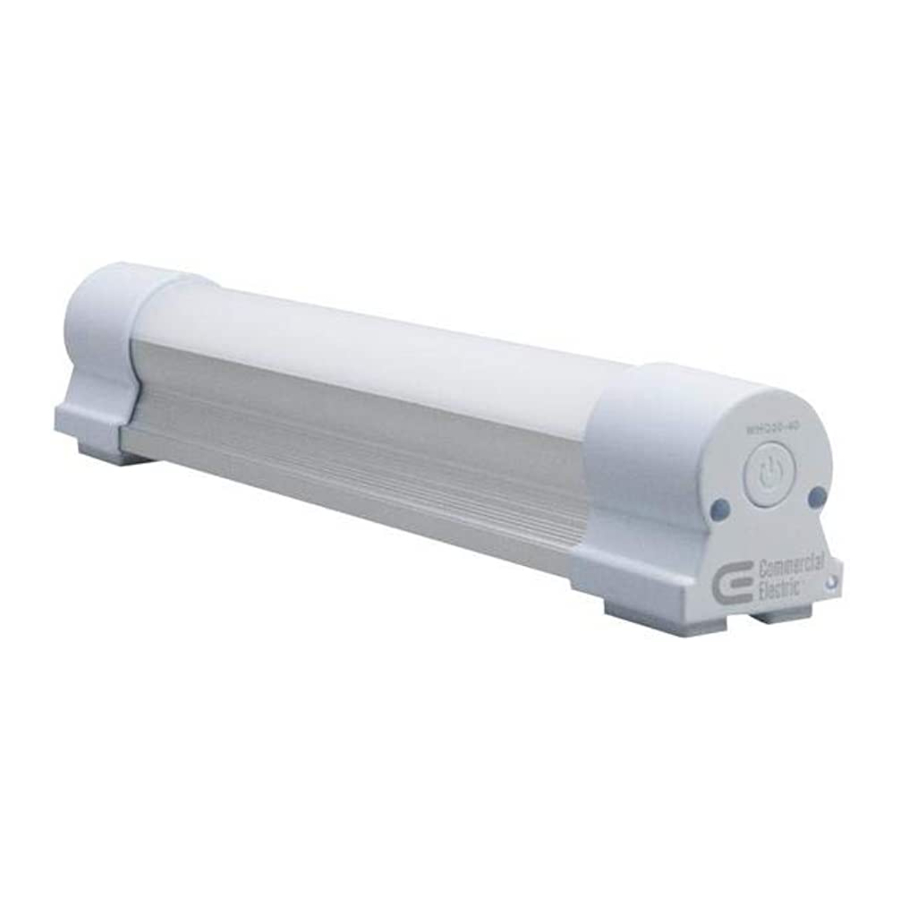
Commercial Electric WHQ20-40 - Led Portable Task Light Manual
Contents
Pre-operation
Lumens, Runtime [test under 77°F (25°C)], and Charging Time
| Model WHQ20-40 | ||||||
| Mode | High | Mid | Low | Strobe | SOS | Charging |
| Lumens | 360 Lm | 180 Lm | 38 Lm | N/A | N/A | N/A |
| Runtimes (hours) | 3.5-4.5 | 7-8 | 32-33 | 12-13 | 14-15 | 5-6 |
PACKAGE CONTENTS

| Part | LED Portable Task Light | Quantity |
| A | Handheld tube | 1 |
| B | Adhesive Backed Mounting Strips | 2 |
| C | Micro USB Charging Cable | 1 |
Operation
- Charging the LED portable task light

INDICATOR LIGHT STATUSIndicator Status Red Charging Green Fully Charged Orange Low Battery - The low power orange indicator light illuminates when the battery is less than 10% charged.
- Connect the micro USB charging cable (C) to the micro USB charger port on LED portable task light using an appropriate DC5V 1A charger.
- The recharging status indicator light is red during charging.
- LED portable task light turns green when fully charged.
- Turning on the LED portable task light

- Press the power button to turn on the LED portable task light in high mode.
- Changing the LED portable task light modes

- Press the power button once to turn the LED portable task light to high mode, twice for medium mode, and three times for low mode.
- Press and hold the power button for 2 seconds to turn on the strobe and hold 2 more seconds to start the SOS mode. These functions are available in all brightness modes.
- Press the power button once to return to high mode when using the strobe or SOS functions.
- Positioning the LED portable task light

Position Description 1 Stand upright. 2 Stick onto adsorption platform using the embedded magnets and adhesive backed mounting strips (B). 3 Hang on the wall using a suspension string (not included). 4 Move freely in any hand-held position.


- Positioning the LED portable task light using adhesive backed mounting strips

- Put the white, non-sticky side of the adhesive backed mounting strip (B) onto one end of the LED portable task light. The white, non-sticky side of the adhesive backed mounting strip (B) will automatically stick to the magnet at the end of the LED portable task light.
- Repeat for the second adhesive backed mounting strip (B), placing it on the other end of the LED portable task light.
- Clean the flat surface of the adsorption platform.
- Peel off the bottom side of the adhesive backed mounting strips (B) and press the LED portable task light onto the adsorption platform.
- Refer to Steps 1-3 to operate the LED portable task light.
- Removing the LED portable task light from the adhesive backed mounting strips
- Press on the adhesive backed mounting strips (B) stick to the adsorption platform tightly.
- Remove the LED portable task light from the adsorption platform as desired, leaving the adhesive backed mounting strips (B) attached to the adsorption platform for future use.

Care and Cleaning
- Wipe the LED portable task light with a piece of white tissue or soft cloth when dirty.
- Avoid spraying water on the LED portable task light and the micro USB charging port.
Troubleshooting
| Problem | Possible Cause | Solution |
| The body of the LED portable task light has some small and light scratches. | LED portable task light body is made with oxidized aluminum and like any normal aluminum tube, small scratches may be found. | Handle the LED portable task light body with care. |
There are cracks in the magnet | LED portable task light may have been dropped. | Protect the end cap when using and handling the LED portable task light. |
LED portable task light does not switch on | The battery level is low. | Check the low battery indication light, if the indicator light is on, charge the LED portable task light. |
| LED portable task light is becoming dimmer than normal standard. | ||
| The recharging time is longer than the normal charging hours described in this manual. | The charger is incorrect. | Check whether the charger is DC5V 1A. If the charger is lower than 1A, it is normal for the charging time to be longer. |
| The micro USB charging cable cannot accept 1A current. | Check the micro USB charging cable for 1A current capability. If the cable cannot handle 1A current, replace with a different cable with that capacity. | |
LED portable task light becomes hot | LED portable task light is operating outside of the normal temperature range. | If the temperature of the body is higher than 140°F (60°C) under normal working conditions, return the LED portable task light for a replacement if it is still within the warranty period. |
| LED portable task light does not work under very cold conditions. | The battery is cold. | Warm the LED portable task light to above 32°F (0°C). |
| LED portable task light requires more charging time and has a shorter runtime after a period of usage. | The battery life is depleted. | LED portable task light will function at 70% capacity with longer charging times and shorter runtimes. If this interferes with the performance you need for the LED portable task light, purchase a new light. |
| The adhesive backed mounting strips do not adhere to a surface. | The adhesive backed mounting strips are worn out. | If the adhesive backed mounting strips are older than 6 months, even if never used, purchase another set of adhesive strips. Adhesive backed mounting strips are available for order at www.homedepot.com. |
| The indicator light flashes during the charging process. | The micro USB charging cable is loose. | Tighten the micro USB charging cable or replace with a new one. |
| The indicator light is out of order. | If the LED portable task light is within the warranty period, return the LED portable task light for a replacement. | |
| The adhesive backed mounting strips are difficult to remove. | The glue on the adhesive backed mounting strips is very strong. | Use a thinner to dissolve the glue. |
| The surface is scratched after removal of the adhesive backed mounting strips. | The glue on the adhesive backed mounting strips is very strong. | Do not apply the adhesive backed mounting strips to surfaces that can be scratched. |

Download manual
Here you can download full pdf version of manual, it may contain additional safety instructions, warranty information, FCC rules, etc.
Download Commercial Electric WHQ20-40 - Led Portable Task Light Manual