Motorola FV200 Series - Two-Way Radio Manual
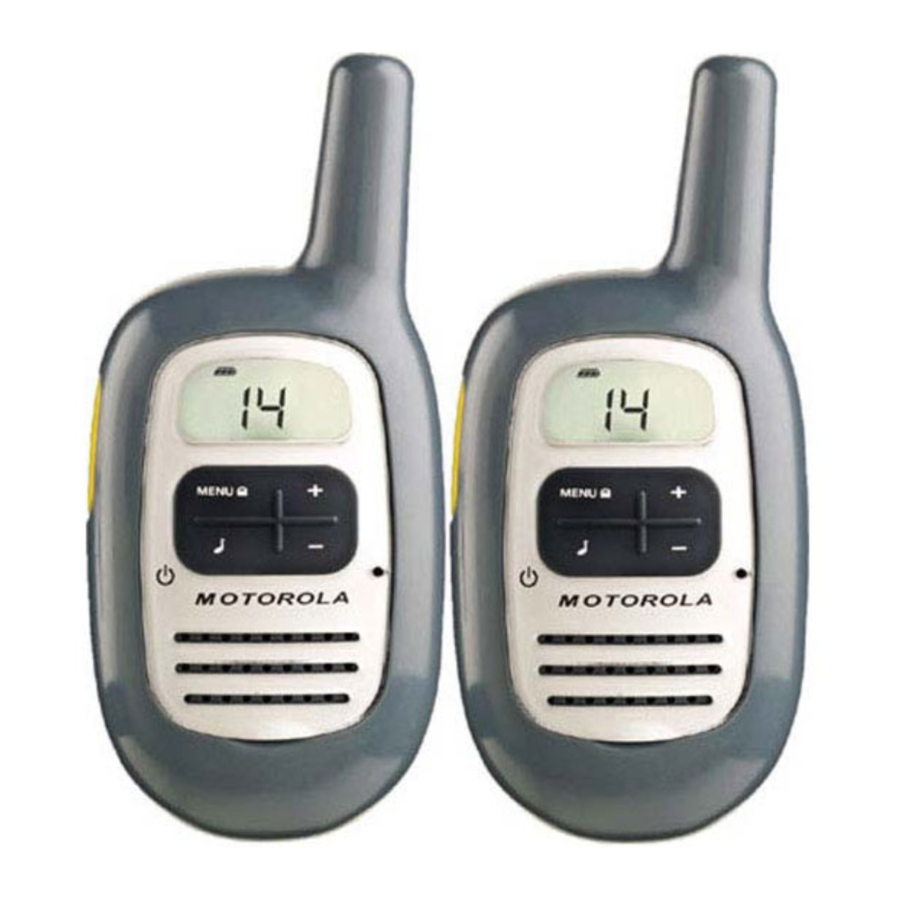
Control Buttons

- Call Tone Button
Short press sends call tone. - Push to Talk (PTT)
Push to transmit, release to listen. In Menu mode, push to confirm selection. - Power/Menu Button
Long press turns radio on or off. Short press enters Menu mode. - Plus Button
Increases volume (volume level flashes and VOL displays). In Menu mode, enables you to change the channel or turn features on or off. - Minus Button
Decreases volume (volume level flashes and VOL displays). In Menu mode, enables you to change the channel or to turn features on or off.
Display Screen Guide

 | Battery Meter |  | Transmitting |
 | Lock |  | Receiving |
 | On/Off for each feature |  | Auto Power On/Off |
 | Scan |  | Call Tone Confirmation (Roger Beep) |
 | Call Tone, Keypad Tone |  | Volume |
Getting Started
Installing the Batteries
Your radio uses three AAA Alkaline batteries and beeps when the batteries are low.
- Turn the radio off.
- With the back of the radio facing you, use a coin to wedge thebattery cover open.
- Insert three AAA Alkaline batteries as shown on the inside of thebattery compartment.
- Reposition the battery cover and press down to secure.
NOTE:The FV200 model radio can use a NiMH rechargeable battery instead of three AAA batteries. A rechargeable battery upgrade kit is available with the rechargeable version.
Installing the NiMH Battery Pack
- Turn the radio off.
- Follow step 2 above to remove the battery cover.
- Remove the battery pack from the clear plastic bag. DO NOT DISASSEMBLE OR UNWRAP THE BATTERY PACK.
- Insert the NiMH battery pack so the "This Side Up" is showing.
- Reposition the battery cover and press down to secure.
Battery Meter
The battery icon shows the battery charge level, from full  to empty
  . When the battery is empty, the radio chirps periodically after releasing PTT. The radio powers off when the voltage drops below a predetermined level to protect the rechargeable battery.
Note:Remove the batteries before storing your radio for extended periods of time. Batteries corrode over time and may cause permanent damage to your radio.
Low Battery Alert
In addition to your battery meter showing how much battery power you have, your radio will beep to alert you to the fact that your batteries are low.
Recharging NiMH Battery Pack (optional accessory)
- Follow steps 1-5 for installing the NiMH battery pack.
- Plug the AC power adapter into the AC adapter plug on the side ofthe radio.
- Plug the AC power adapter into the wall.
Notes:
- The light on AC power adapter will glow continuously whenradio/battery is connected.
- When moving between hot and cold temperatures, do not charge thebattery until the battery temperature acclimates (usually about 20 minutes).
- For optimal battery life, unplug the radio from the AC power adapterwithin 16 hours.
- When your radio is plugged into the AC power adapter, your radio will not work.
Turning Your Device On and Off
To turn on,press and hold  until a channel number appears and the radio beeps. To turn off,press and hold until the radio beeps and the display goes blank.
Adjusting the Volume
Press + to increase or – to decrease the volume. The volume level flashes and  displays.
Attaching and Removing the Belt Clip
Hook the belt clip into the notch at the top of the radio and slide down until it clicks into place. To remove, press locking tab back and lift up.
Talking and Listening
- To talk, press and hold
![]() .
. - When you are finished talking, release
![]() .
.
 .
. .
.For maximum clarity, hold the radio two to three inches away from your mouth and speak directly into the microphone. Do not cover the microphone while talking.
Talk Range
Your radio is designed to maximize performance and improve transmission range. Do not use the radios closer than five feet apart.
Push to Talk Timeout Timer
To prevent accidental transmissions and save battery life, the radio emits a continuous warning tone and stops transmitting if you press  for 60 continuous seconds.
Initial Setup
Selecting the Channel
The channel is the frequency your radio uses to transmit. Your radio has 22 channels.
- Briefly press and release
![]() . The channel number flashes.
. The channel number flashes. - Press + or – to select a channel.
- Press
![]() to confirm or
to confirm or ![]() to continue set up.
to continue set up.
| Channel | Frequency | Description | Channel | Frequency | Description |
| 1 | 462.5625 MHz | GMRS/FRS | 12 | 467.6625 MHz | FRS |
| 2 | 462.5875 MHz | GMRS/FRS | 13 | 467.6875 MHz | FRS |
| 3 | 462.6125 MHz | GMRS/FRS | 14 | 467.7125 MHz | FRS |
| 4 | 462.6375 MHz | GMRS/FRS | 15 | 462.5500 MHz | GMRS |
| 5 | 462.6625 MHz | GMRS/FRS | 16 | 462.5750 MHz | GMRS |
| 6 | 462.6875 MHz | GMRS/FRS | 17 | 462.6000 MHz | GMRS |
| 7 | 462.7125 MHz | GMRS/FRS | 18 | 462.6250 MHz | GMRS |
| 8 | 467.5625 MHz | FRS | 19 | 462.6500 MHz | GMRS |
| 9 | 467.5875 MHz | FRS | 20 | 462.6750 MHz | GMRS |
| 10 | 467.6125 MHz | FRS | 21 | 462.7000 MHz | GMRS |
| 11 | 467.6375 MHz | FRS | 22 | 462.7250 MHz | GMRS |
Setting and Transmitting Call Tones
Your radio has 10 different call tones that you can transmit to other radios in your group to alert them that you want to talk.
To set a call tone:
- With the radio on, short press
![]() until the appears. The current call tone setting flashes.
until the appears. The current call tone setting flashes. - Press + or – to change and hear the call tone.
- Press
![]() to set the new call tone or
to set the new call tone or ![]() to continue set up.
to continue set up.
To transmit your call tone to other radios set to the same channel as your radio, press  .
.
Note: Setting the call to 0 disables the call tone feature.
Transmitting a Talk Confirmation Tone
You can set your radio to transmit a unique tone when you finish transmitting. It is like saying "Roger" or "Over" to let others know you are finished talking.
- With the radio on, short press MENU until the
![]() appears. Thecurrent setting On/Off flashes.
appears. Thecurrent setting On/Off flashes. - Press + or – to turn On or Off.
- Press
![]() to set the talk confirmation tone or
to set the talk confirmation tone or ![]() to continue set up.
to continue set up.
 appears. Thecurrent setting On/Off flashes.
Key Tone On/Off
You may enable or disable the speaker key tones. You will hear the key tone each time a button is pushed.
- Short press
![]() until
until ![]() appears and the current setting On/Off will flash.
appears and the current setting On/Off will flash. - Press either + or – to turn On or Off.
- Press
![]() to confirm or
to confirm or ![]() to continue set up.
to continue set up.
When the Key Tone Feature is off, the following are not disabled:
- Transmit timeout alert tone;
- Power-down alert tone;
- Low battery alert tone; or
- The transmitted TCT tone.
Auto Power On/Off
Your radio will save power by automatically turning itself off if unused after a predetermined amount of time.
- Activate this setting by short pressing
![]() until the
until the ![]() displays. The current setting (0, 30, 60, 90) will flash.
displays. The current setting (0, 30, 60, 90) will flash. - Press +or–to set the time to 30 minutes, 60 minutes or 90 minutes.
- When you exit Menu mode, the setting timer will begin if you are notusing the radio.
- The screen shows
![]()
- Press
![]() to confirm or
to confirm or ![]() to continue set up.
to continue set up.
 displays. The current setting (0, 30, 60, 90) will flash.
Scanning Channels
Use scanning to monitor channels for transmissions or to find someone in your group who has accidentally changed channels.
- Short press
![]() until the
until the ![]() appears. The current setting On/Off will flash.
appears. The current setting On/Off will flash. - Press either + or – to turn On or Off.
- Press
![]() to confirm or
to confirm or ![]() to continue set up.
to continue set up.
 appears. The current setting On/Off will flash.
When the radio detects channel activity, it stops scanning and you can hear the transmission. To respond, press within five seconds
Advanced Scan
If the radio stops scanning on a channel you do not want to listen to, briefly press and release + or – to resume scanning for the next active channel.
Monitor
Use this feature to see if there is anyone on the channel you have selected.
- Short press
![]() until
until ![]() appears.
appears. - When you finish listening, press
![]() to confirm or
to confirm or ![]() to continue set up.
to continue set up.
 appears.
Note: Monitor will time out after five seconds if or  is not pressed
Keypad Lock
To avoid accidentally changing your radio settings you can lock your keypad:
- Short press
![]() until the
until the ![]() appears. The current setting On/Off will flash.
appears. The current setting On/Off will flash. - Push the + or – to turn On or Off.
- The
![]() will be displayed on your screen.
will be displayed on your screen.
 appears. The current setting On/Off will flash.
When in lock mode, you cannot adjust the volume but all other functions work as usual.
Note:To unlock press and hold for a few seconds.
Using Audio Accessories
There are many accessories (sold separately) available for your radio. For more Information contact the place of purchase.
- Turn the radio off. Plug the accessory connector into the accessoryjack.
- Turn the radio on. Lower the volume before placing the accessory onyour heador in your ear.
- Adjust the volume to a comfortable level.
- To transmit, press
![]() and speak into the accessory microphone, if any.
and speak into the accessory microphone, if any. - To receive, release.

Download manual
Here you can download full pdf version of manual, it may contain additional safety instructions, warranty information, FCC rules, etc.
Download Motorola FV200 Series - Two-Way Radio Manual


