How to Enable or Disable In-Ear Detection on Apple AirPods Pro 3

Welcome to this step-by-step guide on how to manage the In-Ear Detection feature on your new Apple AirPods Pro 3. This feature maximizes your listening experience by automatically pausing and resuming your audio based on whether the earbuds are worn. Here's how you can enable or disable this feature on your compatible iPhone device.
Step 1: Connect Your AirPods Pro 3
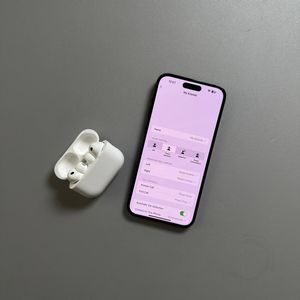
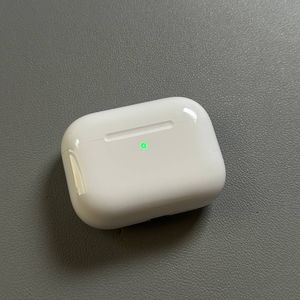
To begin, make sure your AirPods Pro 3 are connected to your iPhone. Open the lid of the charging case close to your phone, and they should automatically pair if they have been previously set up. You will see a connection notification on your device confirming they are connected successfully.

Step 2: Open the Settings App
On your iPhone, navigate to the main Settings app. You can locate the app by looking for its familiar gear-shaped icon, usually found on your home screen or within your app library.

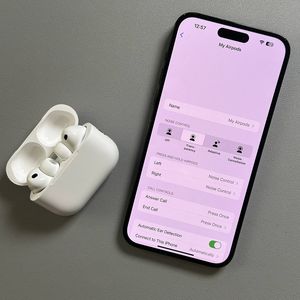
Step 3: Locate Your AirPods Pro in Settings
Within the Settings menu, you should see your AirPods Pro listed at the top, under your Apple ID and devices. Tap on the AirPods Pro line to access the specific settings available for them.

Step 4: Access the Automatic Ear Detection Feature
Scroll down through the AirPods settings page until you find the "Automatic Ear Detection" option. This feature is crucial as it controls whether your music will pause automatically when you remove the earbuds from your ears.

Step 5: Enable or Disable In-Ear Detection
To toggle the In-Ear Detection feature, simply tap the slider next to the option. If the slider has an empty background, it means the feature is disabled, and tapping it will enable it, filling the background with color. Conversely, if the slider has a colorful background, tapping it will disable the feature.


And that's it! You've now learned how to easily customize your AirPods Pro 3 listening experience by managing the In-Ear Detection feature.