Samsung Galaxy Fit 3: How to Remove or Change Bands
If you're looking to freshen up your wrist style or simply need to replace a worn-out band, changing the bands on your Samsung Galaxy Fit 3 is designed to be straightforward and convenient. This guide will walk you through the process, ensuring your band swap is smooth and easy to follow. Let's get started!
Step 1: Prepare to Remove the Current Band
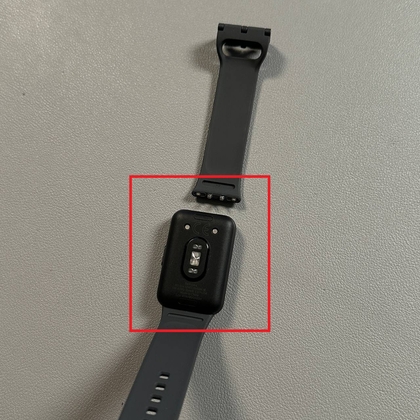
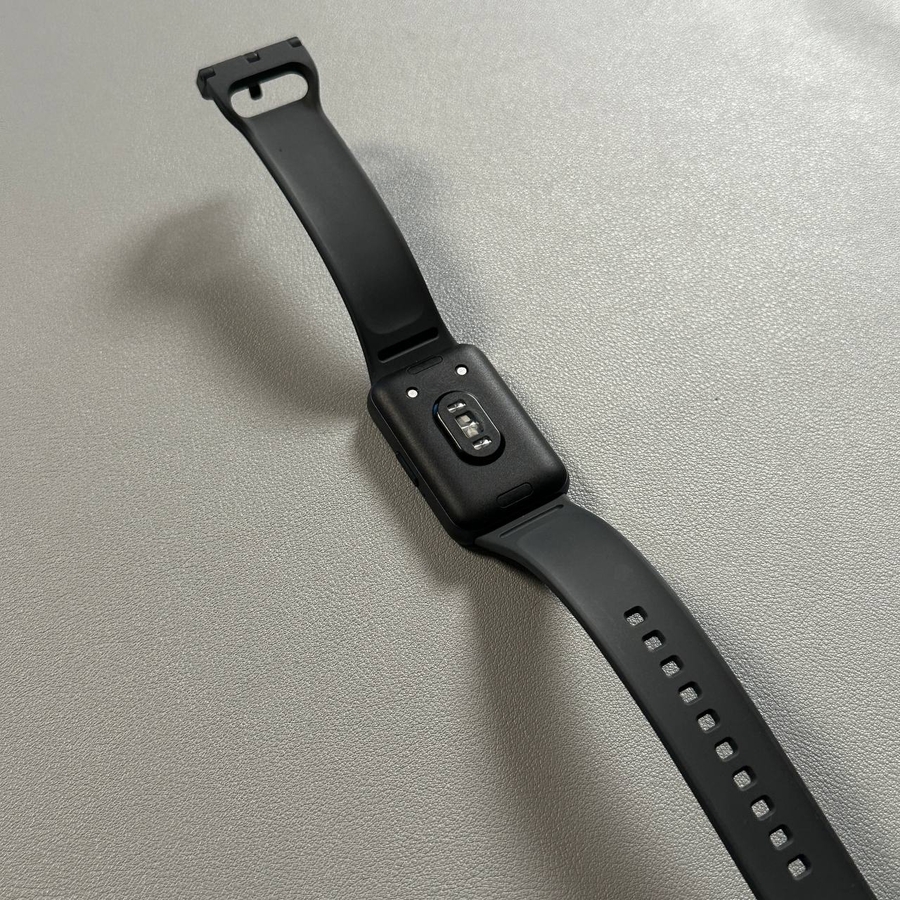
To begin, take a close look at your Galaxy Fit 3 band. You will notice a small button on each side of the watch where the band connects to the tracker. This is the release mechanism designed for easy band removal. Make sure you're holding the device securely to prevent any accidental drops during this process.

Step 2: Release the Band
Using your fingernail, gently but firmly press down on the release button. You might need to apply a bit of pressure to successfully release the band. Once you've pressed it, the band should easily detach from the watch face, granting you access to remove it entirely from the device.

Step 3: Attach the New Band
With the old band removed, it's time to attach the new one. Align the new band with the empty slot on the watch face and gently push it in until you hear or feel a click. This indicates that the band is securely attached. Ensure that both sides of the new band are firmly in place to guarantee a snug fit. And there you have it! You've successfully changed the band on your Samsung Galaxy Fit 3.