How to Set a Contact Photo on Nothing Phone (3) (Πώς να Ορίσετε μια Φωτογραφία Επαφής στο Nothing Phone (3))
Το να δώσετε στις επαφές σας μια μοναδική φωτογραφία είναι ένας εξαιρετικός τρόπος για να εξατομικεύσετε το τηλέφωνό σας και να αναγνωρίζετε αμέσως ποιος καλεί χωρίς καν να κοιτάξετε το όνομά του. Στο Nothing Phone (3), η ρύθμιση μιας προσαρμοσμένης εικόνας για οποιαδήποτε επαφή είναι γρήγορη και εύκολη. Ακολουθήστε αυτόν τον απλό οδηγό για να διασφαλίσετε ότι δεν θα χάσετε ποτέ ένα οικείο πρόσωπο στις εισερχόμενες κλήσεις σας!
Step-by-Step Guide (Οδηγός Βήμα προς Βήμα)
-
Open the Contacts App (Άνοιγμα της Εφαρμογής Επαφές): First, open up the Contacts application on your Nothing Phone (3).
![The Home screen of Nothing Phone (3) with the Contacts app icon highlighted.]()
-
Choose the Desired Contact (Επιλογή της Επιθυμητής Επαφής): Find and tap on the contact you wish to add a photo to.
![A view of the Contacts list showing a specific contact name selected.]()
-
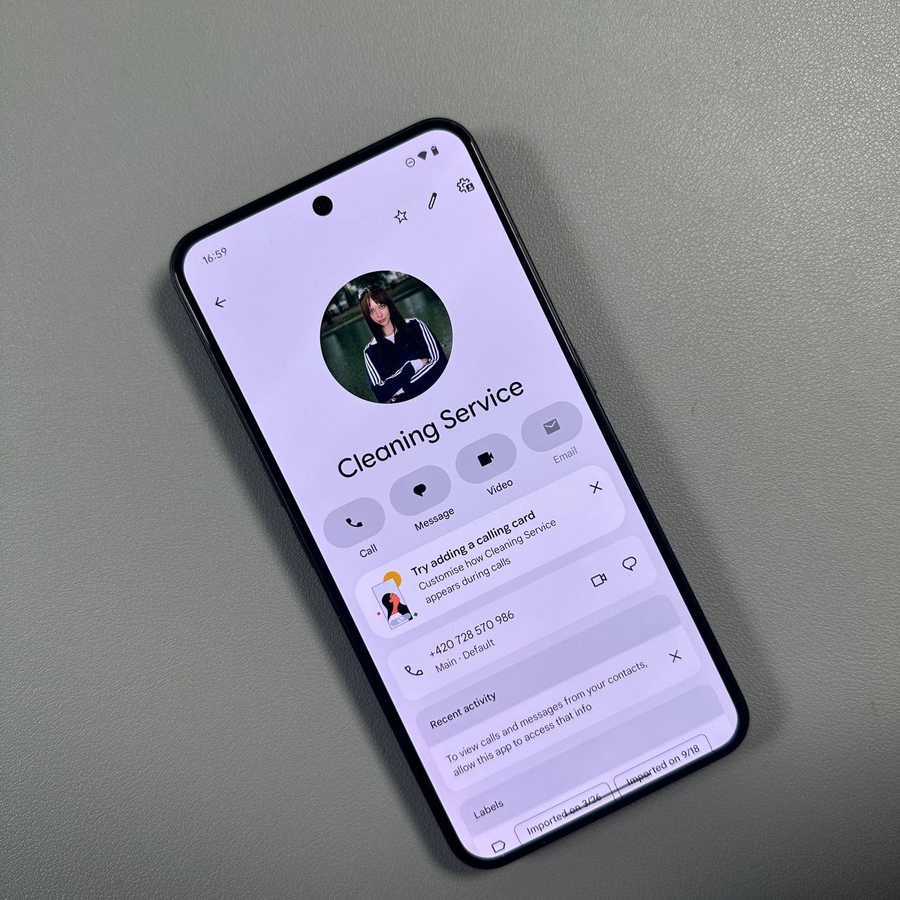
Edit the Contact (Επεξεργασία της Επαφής): Tap on the pencil icon (Edit (Επεξεργασία)) at the top right corner of the contact details screen.
![The contact details screen with the pencil icon for editing highlighted.]()
-
Add a Picture (Προσθήκη Εικόνας): Now, tap on the plus icon or the default avatar image at the top of the contact's edit screen to add a picture.
![The contact edit screen with the plus icon for adding a photo highlighted.]()
-
Select and Adjust the Photo (Επιλογή και Προσαρμογή της Φωτογραφίας): Choose the desired picture from your gallery or take a new one. You will likely enter a crop/adjustment menu here. Adjust your picture until you are satisfied.
![A pop-up menu showing options like 'Take photo' or 'Choose photo from gallery' ('Λήψη φωτογραφίας' ή 'Επιλογή φωτογραφίας από τη συλλογή').]()
![The screen for cropping and adjusting the selected photo.]()
-
Save Your Changes (Αποθήκευση των Αλλαγών σας): Once satisfied with the picture's placement and look, tap Done or Choose (depending on the OS version) to confirm the photo, and then tap Save at the top right corner of the main contact edit screen to save your changes.
![The contact edit screen with the 'Save' button highlighted in the top right corner.]()


That's it! Now the photo is set and will appear in your contact list and whenever you receive an incoming call from this contact.
Thank you so much for reading this article.


