How to Set a Contact Photo on Nothing Phone (3)
Giving your contacts a unique photo is a great way to personalise your phone and instantly recognise who's calling without even looking at their name. On the Nothing Phone (3), setting a custom picture for any contact is quick and easy. Follow this simple guide to ensure you never miss a familiar face on your incoming calls!
Step-by-Step Guide
-
Open the Contacts App: First, open up the Contacts application on your Nothing Phone (3).
![The Home screen of Nothing Phone (3) with the Contacts app icon highlighted.]()
-
Choose the Desired Contact: Find and tap on the contact you wish to add a photo to.
![A view of the Contacts list showing a specific contact name selected.]()
-
Edit the Contact: Tap on the pencil icon (Edit) at the top right corner of the contact details screen.
![The contact details screen with the pencil icon for editing highlighted.]()
-
Add a Picture: Now, tap on the plus icon or the default avatar image at the top of the contact's edit screen to add a picture.
![The contact edit screen with the plus icon for adding a photo highlighted.]()
-
Select and Adjust the Photo: Choose the desired picture from your gallery or take a new one. You will likely enter a crop/adjustment menu here. Adjust your picture until you are satisfied.
![A pop-up menu showing options like 'Take photo' or 'Choose photo from gallery'.]()
![The screen for cropping and adjusting the selected photo.]()
-
Save Your Changes: Once satisfied with the picture's placement and look, tap Done or Choose (depending on the OS version) to confirm the photo, and then tap Save at the top right corner of the main contact edit screen to save your changes.
![The contact edit screen with the 'Save' button highlighted in the top right corner.]()


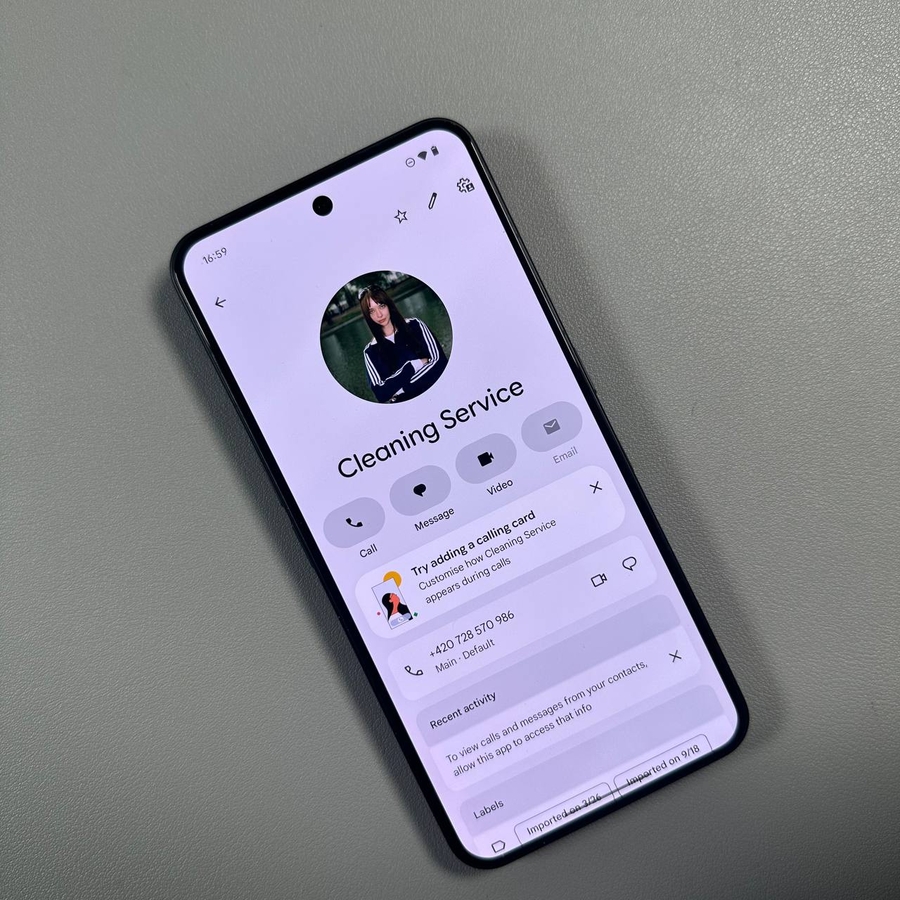
That's it! Now the photo is set and will appear in your contact list and whenever you receive an incoming call from this contact.
Thank you so much for reading this article.