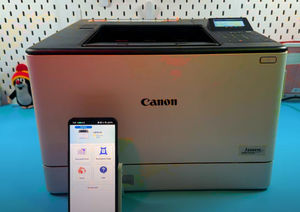
How to Factory Reset Your Canon i-SENSYS LBP673Cdw Printer
- 1 Method 1: Performing a Full Factory Reset (For Severe Issues)
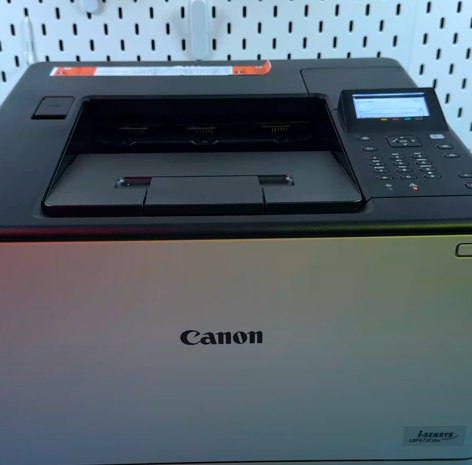
- 2 Step 1: Access the Main Menu on the Control Panel
- 3 Step 2: Navigate to Management Settings
- 4 Step 3: Select Initialize All Data/Settings
- 5 Step 4: Confirm the Reset Action
- 6 Method 2: Resetting Network Settings Only (For Wi-Fi Issues)
- 7 Step 5: Go to Preferences Menu
- 8 Step 6: Initialize Network Settings
- 9 Step 7: Power Cycle the Printer
- 10 In Other Languages
Facing persistent errors or connectivity problems with your Canon i-SENSYS LBP673Cdw? A full factory reset is often the most effective solution, restoring all settings to their original state. This comprehensive guide will walk you through two essential troubleshooting steps: a complete factory reset for severe issues and a simple network-only reset for connectivity problems. This method is also applicable to many other Canon i-SENSYS series printers. Let's get your printer working like new!
Method 1: Performing a Full Factory Reset (For Severe Issues)
Step 1: Access the Main Menu on the Control Panel
To begin, look at your printer's control panel. If you are not on the main Home screen, press the physical Home button once. Once on the Home screen, use the navigation arrows to highlight and select the Menu option.

Step 2: Navigate to Management Settings
After selecting Menu, you'll need to locate the printer's deep configuration options. Use the down arrow or scroll until you find the Management Settings and select it to proceed.

Step 3: Select Initialize All Data/Settings
Within the Management Settings, use the navigation arrows to scroll and find the Initialize All Data/Settings option. This is the function that will erase all custom configurations. Press the OK button to select it.

Step 4: Confirm the Reset Action
The printer will now present a warning message. This process will completely delete all stored user data, settings, and files, returning the printer to its original factory defaults. To continue and reset your printer, select Yes. Note that you will then be required to set up basic information like date, time, country, and language from scratch.

Method 2: Resetting Network Settings Only (For Wi-Fi Issues)
Step 5: Go to Preferences Menu
If your only problem is with connecting to your Wi-Fi network or a dropped connection, you can save time by performing a network-only reset. From the Home screen, select Menu, and then choose Preferences.

Step 6: Initialize Network Settings
Inside the Preferences menu, scroll down until you find the Network option and select it. Then, use the up arrow once to quickly find the Initialize Network Settings option. Press OK to confirm, and then select Yes when prompted to initialize.


Step 7: Power Cycle the Printer
The printer will inform you that the changes will only take effect after the main power is turned off and on again. Press and hold the power button until the printer completely turns off. Wait about five seconds, then press the power button once to turn it back on. Once the printer is silent and fully booted, you'll need to reconfigure your Wi-Fi settings and Wi-Fi Direct. This simple reset resolves most connectivity issues.