How to Set Your Photo as a Watch Face on Samsung Galaxy Watch 8 LTE
- 1 Step 1: Connect Your Device to the Samsung Wearable App
- 2 Step 2: Access the Watch Faces Section
- 3 Step 3: Select the Photo Option
- 4 Step 4: Choose or Capture Your Photo
- 5 Step 5: Adjust Photo Settings
- 6 Step 6: Customise the Clock Display
- 7 Step 7: Save and Apply Your Custom Watch Face
- 8 Additional Tip: Use Multiple Images
- 9 In Other Languages
Welcome to our comprehensive guide on customising your Samsung Galaxy Watch 8 LTE! In this tutorial, we'll walk you through the simple steps of transforming your smartwatch by setting a personal photo as your watch face. Let's make your device truly yours, with a touch of personalised flair.
Step 1: Connect Your Device to the Samsung Wearable App
To begin, ensure that your Samsung Galaxy Watch 8 LTE is properly connected to the Samsung Wearable app on your smartphone. This app is the bridge that allows you to customise and manage your device seamlessly. Once your band is connected, you are ready to proceed to the next step.

Step 2: Access the Watch Faces Section
Open the Samsung Wearable app on your phone. Inside the app, navigate to the "Watch Faces" section, which is where you can explore various options for changing the appearance of your Watch 8 LTE's display.

Step 3: Select the Photo Option
In the "Favorites" tab, click on "Manage." Here, you will find an option labelled "Photo." Select this option to begin customising your watch face with a photo.

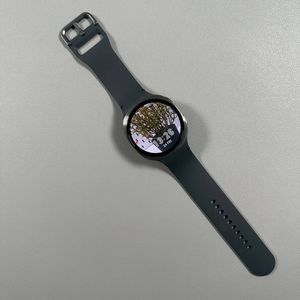
Step 4: Choose or Capture Your Photo
Now, you have the flexibility to select an image from your gallery or capture a new photo using your camera. For a gallery image, simply go to your phone's gallery, tap on any picture you like, and press "Done" (done). If you'd like to take a new photo, use the camera option and capture the desired image.

Step 5: Adjust Photo Settings
Once you've chosen a picture, you can adjust various settings such as brightness, contrast, and exposure. To do this, drag the sliders to find the perfect balance that suits your taste.

Step 6: Customise the Clock Display
Next, move on to the clock display customisation. In the "Clock Type" section, select your preferred style from the options available. You can also modify the clock colour by selecting the section for clock colour and choosing a shade that complements your chosen photo.

Step 7: Save and Apply Your Custom Watch Face
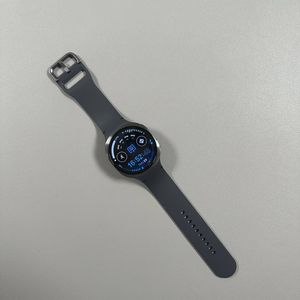
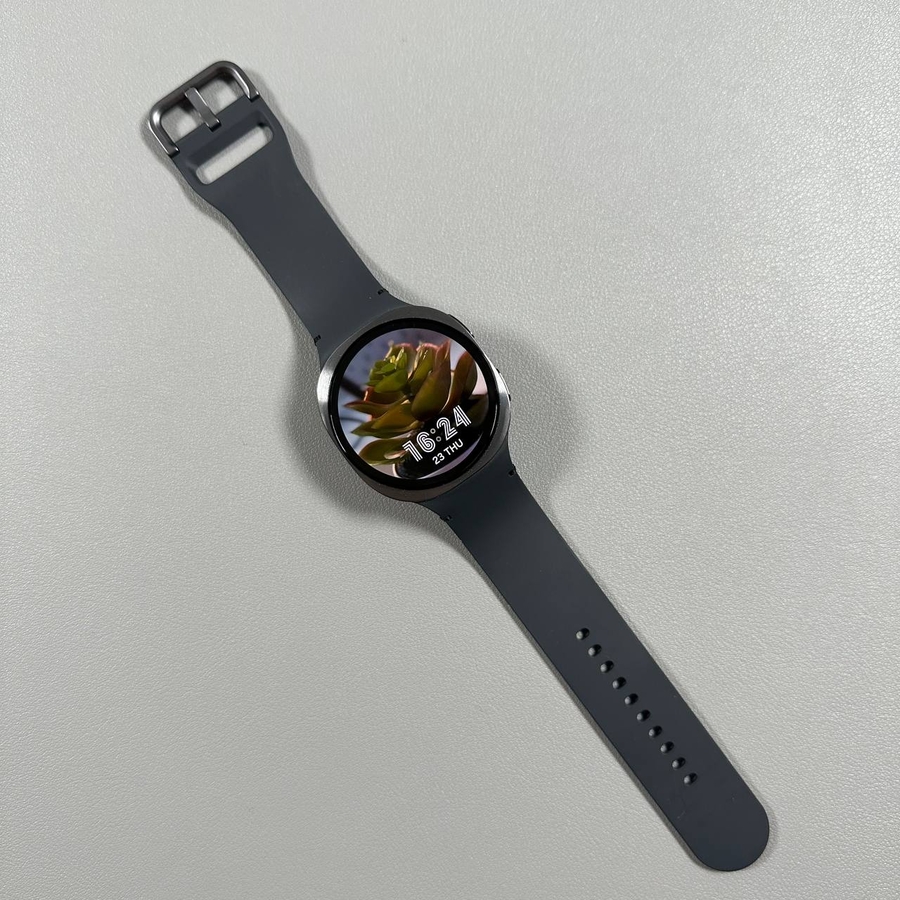
Finally, after all adjustments, press "Save" (save). Your selected photo, with all its customised settings, is now set as your watch face on your Samsung Galaxy Watch 8 LTE. Congratulations, you've now personalised your smartwatch with your favourite photo.

Additional Tip: Use Multiple Images
If you'd like to switch it up, you can select multiple images. Simply tap on the gallery, choose all the images you want, and enjoy a dynamic watch face experience. Remember to close the Samsung Wearable app once you're done setting everything up.

We hope this guide was helpful in setting a personal photo as your watch face on your Samsung Galaxy Watch 8 LTE. Enjoy your newly customised device!