How to Enable RAW Photo Capture on Nothing Phone (3)
Taking photos in RAW format is essential for serious mobile photographers. Unlike standard JPEG images, RAW files retain all the unprocessed data captured by your phone's sensor. This gives you maximum flexibility when editing, allowing for more detailed adjustments to exposure, shadows, highlights, and color. If you own a Nothing Phone (3) and want to step up your photography game, here's how to quickly enable RAW capture.
Step-by-Step Guide to Enabling RAW Capture
Follow these simple steps in the camera app to ensure your photos are saved in the versatile RAW format:
- Open the Camera App and Select 'More'
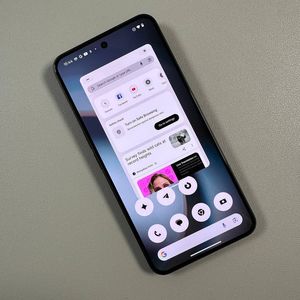
First, open the Camera application on your Nothing Phone (3). Then, scroll through the shooting modes (like Photo, Video, Portrait, etc.) until you find and tap on the More option.
![Nothing Phone (3) camera interface with the More option highlighted.]()
![Pop-up menu after tapping 'More' showing additional camera modes.]()
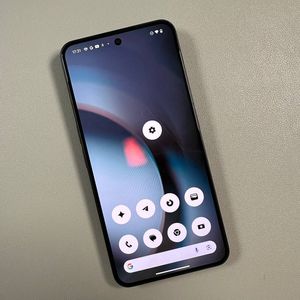
- Enter 'Expert' Mode
In the pop-up menu that appears, tap on Expert mode. This will switch your camera interface to provide manual controls over settings like ISO and Shutter Speed.
![Nothing Phone (3) 'More' menu with 'Expert' mode highlighted.]()
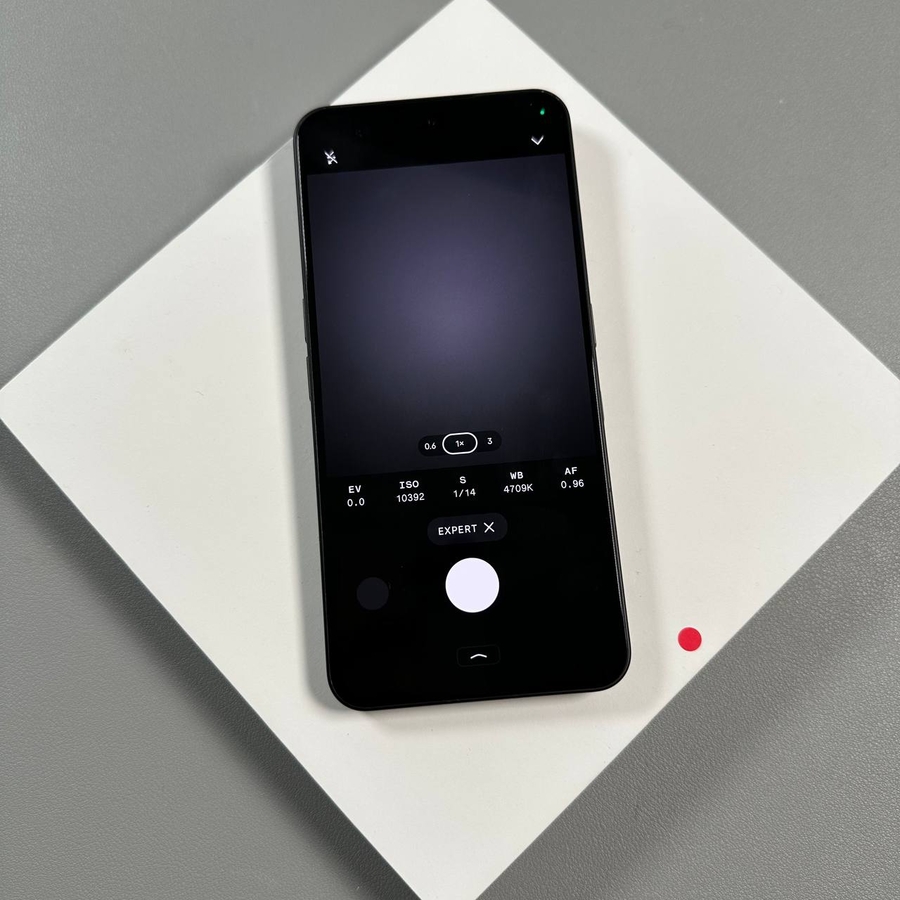
![Nothing Phone (3) camera interface in Expert Mode.]()
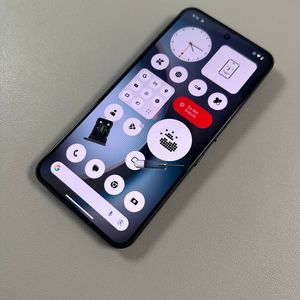
- Access Expert Settings
While in Expert mode, look for and tap the arrow icon or a similar settings indicator usually located at the top right corner of the screen. This action reveals additional, hidden settings specific to Expert mode.
![Nothing Phone (3) Expert Mode interface with the settings arrow icon highlighted in the top right.]()
![The expanded settings panel in Nothing Phone (3) Expert Mode.]()
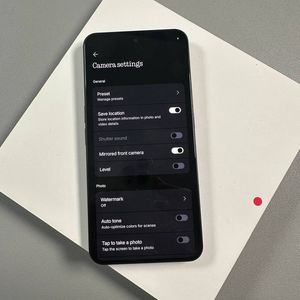
- Enable RAW Capture
Finally, locate the option for RAW capture and tap to enable it. A toggle or indicator will confirm that RAW capture is now active. Your photos taken in this mode will now be saved in the RAW format alongside a standard JPEG, giving you maximum flexibility for editing.
![Nothing Phone (3) Expert Mode settings panel showing the RAW capture toggle in the off position.]()
![Nothing Phone (3) Expert Mode settings panel showing the RAW capture toggle in the on position.]()


That's all there is to it! You are now set to capture high-quality, uncompressed images that will be perfect for post-processing.
Thank you so much for reading this article.
Have a great day.