How to Connect Your TP-Link Tapo C200 Camera to Your iPhone
- 1 Step 1: Download the Tapo App
- 2 Step 2: Launch the Tapo App and Sign In
- 3 Step 3: Power Your Tapo C200 Camera
- 4 Step 4: Reset the Camera (if Required)
- 5 Step 5: Add Your Camera to the Tapo App
- 6 Step 6: Connect to the Camera's Wi-Fi
- 7 Step 7: Connect Your Camera to Your Home Wi-Fi
- 8 Step 8: Finalise Camera Setup
- 9 In Other Languages
Welcome to our step-by-step guide on how to connect your TP-Link Tapo C200 camera to your iPhone. This guide will walk you through the simple process of linking your camera to the Tapo app, allowing you to keep an eye on your home or office effortlessly.
Step 1: Download the Tapo App
To begin, unlock your iPhone and navigate to the App Store. In the search bar, type "Tapo" and download the Tapo app. It's free to download, making it accessible for anyone interested in managing their Tapo C200 camera from their iPhone.

Step 2: Launch the Tapo App and Sign In
Once the Tapo app has been successfully installed, tap on its icon to open it. You will need to either create a new account or sign in with your existing credentials to proceed with the setup process.

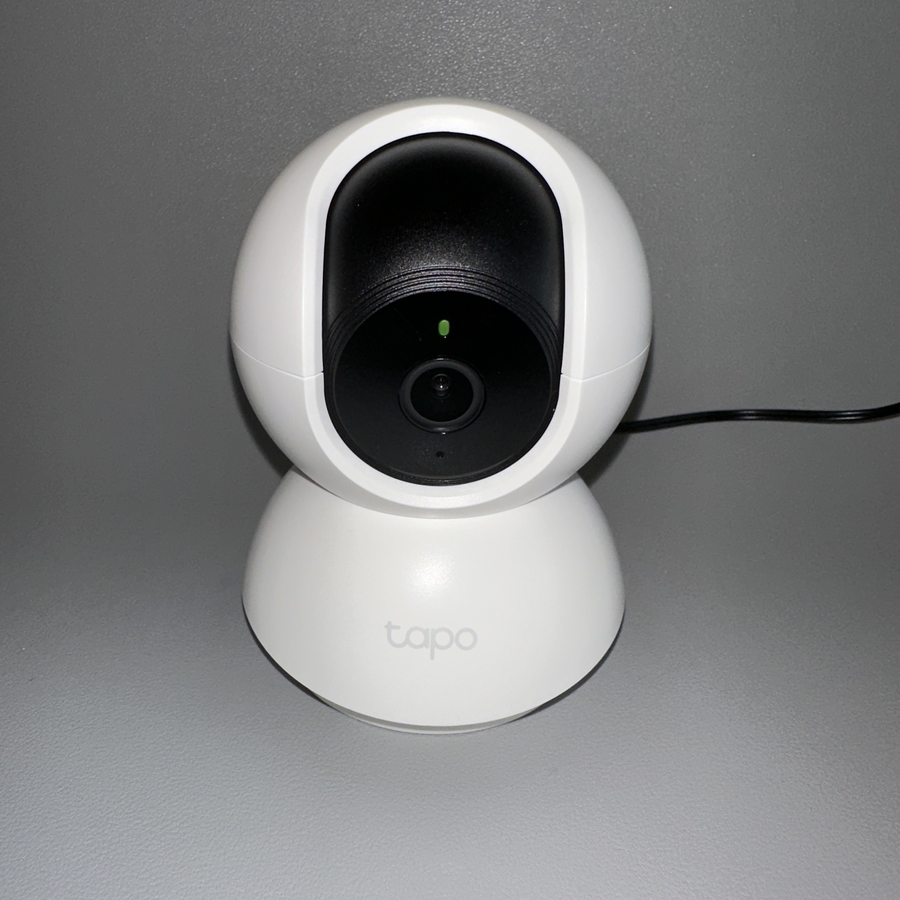
Step 3: Power Your Tapo C200 Camera
Ensure your Tapo C200 camera is connected to a power source using the included power cord. Give the camera a minute or so to fully boot up. Check the indicator light on your camera; it should be flashing red and green, indicating it is ready for setup.

Step 4: Reset the Camera (if Required)
If the LED indicator is only flashing red, you need to reset the camera. Flip the camera's body to reveal the reset button. Press and hold this button for about 10 seconds. After this, wait a minute for the camera to reboot. The light should then flash red and green.

Step 5: Add Your Camera to the Tapo App
Return to the Tapo app, tap on the "Add Device" (add device) option, select "Indoor cameras" and search for "Tapo C200". Select the camera when it appears in the list. Since the camera is already flashing red and green, you're ready to proceed.


Step 6: Connect to the Camera's Wi-Fi
On your iPhone, swipe down from the top of the screen to access the Settings menu. Select "Wi-Fi" and search for the network associated with your Tapo camera, which may appear under a name starting with "Tapo Cam". Connect to this network.

Step 7: Connect Your Camera to Your Home Wi-Fi
Return to the Tapo app. You should see the camera attempting to connect. After it's connected to your iPhone, select your preferred home Wi-Fi network from the list and enter the password.

Step 8: Finalise Camera Setup
Now, you can choose a name for your device and an icon to help you identify it easily. You can also assign a location where you plan to use the camera. Once configurations are complete, tap "Sounds Good" (sounds good) to finish.