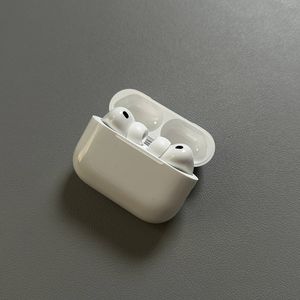
Unpairing Your Apple AirPods Pro 3 from iPhone

Welcome to our tech guide where we will show you how to unpair your Apple AirPods Pro 3 from your iPhone. Whether you're upgrading your earbuds or resolving connectivity issues, this step-by-step guide will help you disconnect efficiently.
Step 1: Open the Settings App
To begin, locate and open the Settings app on your iPhone. This app is recognisable by its gear icon and is often found on your home screen.
Step 2: Access Your AirPods Pro 3 Settings
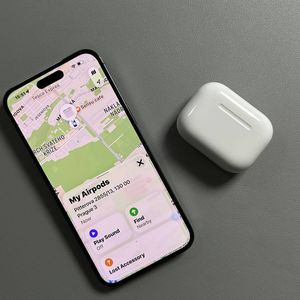
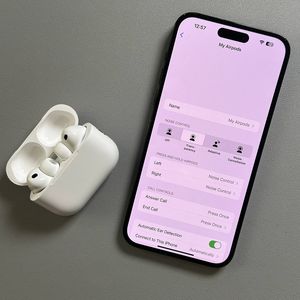
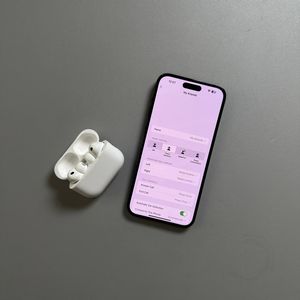
Once in the Settings app, you will see your AirPods listed if they are currently connected. Tap on the name of your AirPods at the top of the screen. Alternatively, go to Bluetooth, and find your AirPods in the list of devices. Tap on the information icon (an "i" in a circle) next to your AirPods.

Step 3: Forget the Device
Scroll down to the bottom of the AirPods settings page and tap on the option labelled "Forget This Device" (forget this device). Confirm your choice when prompted, which will remove the AirPods from your iPhone's list of Bluetooth devices.

Optional Step: Disconnect Instead of Unpairing
If instead of unpairing, you would just like to temporarily disconnect your AirPods, you can select the "Disconnect" (disconnect) option. This keeps the AirPods on your device list for easy reconnection in the future.

Step 4: Place AirPods Back in Charging Case
To ensure they do not automatically reconnect, place your AirPods back into their charging case and close the lid. This will power them down and complete the unpairing process.

Congratulations, you have successfully unpaired your Apple AirPods Pro 3 from your iPhone!