Apple AirPods Pro 3 - How to Connect to a Windows Laptop or PC
In this guide, we will walk you through the steps needed to connect your Apple AirPods Pro 3 to a Windows laptop or PC. By following this easy-to-understand process, you'll be enjoying wireless audio in no time.
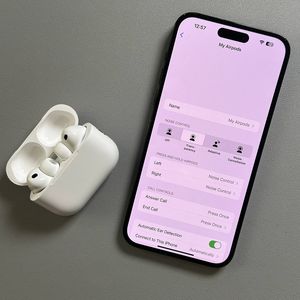
Step 1: Prepare Your AirPods Pro 3 for Pairing
First, you need to prepare your AirPods Pro 3 for pairing. Begin by opening the charging case. Once opened, double-tap the small indicator light located on the front of the case. This action will prompt the indicator to start blinking white, signifying that your AirPods Pro 3 are now in pairing mode.

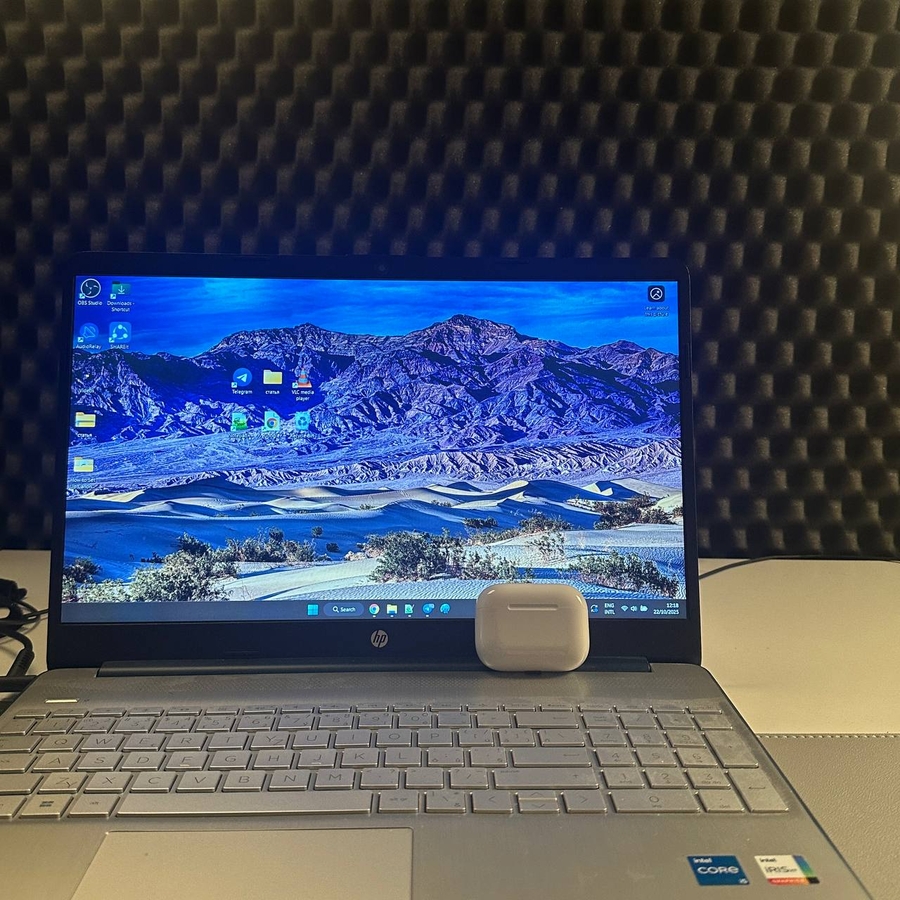
Step 2: Place AirPods Pro 3 Near Your PC
Next, ensure that your AirPods Pro 3 case remains open and position it close to your Windows laptop or PC. This proximity helps facilitate a smooth connection during the pairing process.

Step 3: Access Bluetooth Settings on Your Windows Device
On your laptop, open the Settings application by clicking on the WiFi menu and navigating to the right side options menu. From there, select 'Bluetooth'. Ensure that Bluetooth is turned on by toggling the switch to the 'on' position. Then, click on 'Add device' (add device) to begin searching for available Bluetooth devices.


Step 4: Connect Your AirPods Pro 3
Upon selecting 'Add device' (add device), choose the 'Bluetooth' option from the list. Wait for a few seconds as your device searches for available devices. Your AirPods Pro 3 should appear in the list, initially detected as a type of headphone. Click on this entry with the left mouse button. Within moments, the name will change to 'AirPods Pro,' confirming a successful connection.

And there you have it! Your Apple AirPods Pro 3 are now connected to your Windows laptop or PC, and you're all set to experience quality audio wirelessly.