Renaming Your Apple AirPods Pro 3 on an iPhone: A Simple Guide

Want to give your Apple AirPods Pro 3 a personalised touch? Renaming them on your iPhone is quick and easy! Follow these steps to update their name.
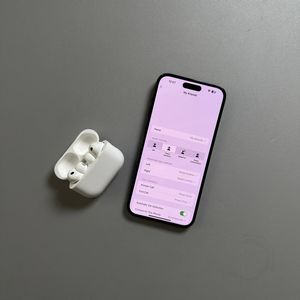
Step 1: Open the Settings App
To get started, unlock your iPhone and open the main Settings app. You can typically find this app, featuring a gear-shaped icon, on your home screen or by searching within your app library.
Step 2: Access Bluetooth Settings
Inside the Settings app, scroll down and tap on the "Bluetooth" option to access your Bluetooth settings. Ensure your AirPods Pro 3 are already connected to your iPhone for ease of editing their settings.

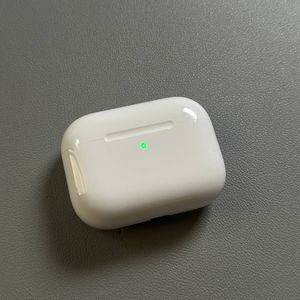
Step 3: Locate Your AirPods
Find your AirPods Pro 3 in the list of devices. Tap on the blue 'i' icon next to your AirPods' name to open the device information page.
Step 4: Change the Name
Once you're on the information page, look for the line that displays the current name of your AirPods. Tap on this line to initiate editing. Enter your desired name, ensuring it's something that makes your AirPods easily identifiable. Once done, simply press the back button; your changes are saved automatically.

Step 5: Confirm the Change
After you've entered the new name, you can go back to the Bluetooth menu to view the updated name. There's no need for any additional saves or confirmations; iPhone automatically updates these changes.