Apple AirPods Pro 3 - How to Set Up Spatial Audio

Spatial Audio creates an immersive surround sound experience when using your Apple AirPods Pro 3. This guide will walk you through the simple steps to set up Spatial Audio on your device, adding a new dimension to your audio experience.
Access the Settings App
Once your AirPods are connected, locate the gear-shaped Settings icon on your iPhone or iPad's home screen and tap to open it. This app will serve as your control centre (center) during the setup process.

Connect Your AirPods to Your iPhone or iPad
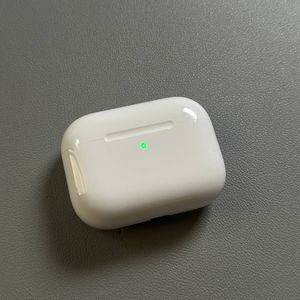
To begin the setup process, make sure your AirPods Pro 3 are connected to your iPhone or iPad. Start by unlocking your Apple device and ensure Bluetooth is enabled. Then, open the AirPods case while holding it near your device, and follow the on-screen prompts to establish a connection.

Select Your AirPods
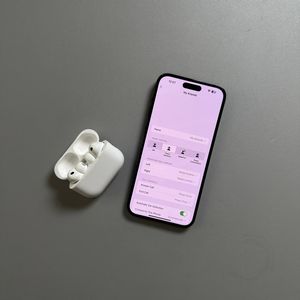
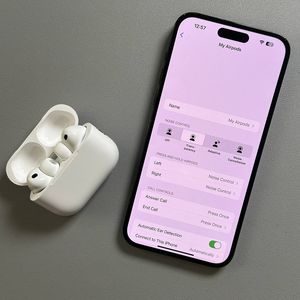
From within the Settings app, scroll down until you see your AirPods listed, and select them. This action will take you to a new screen dedicated to AirPods settings.

Personalise Spatial Audio
On the AirPods settings page, scroll until you find an option labelled (labeled) 'Personalize Spatial Audio' (Personalise Spatial Audio). Tap on this option to begin configuring spatial audio settings tailored to your unique preferences.

Face Positioning and Head Movements
Next, you will be prompted to hold your iPhone in front of you with your face within the camera frame. As instructed, click 'Start Capture' (start capture) and make slight head movements left and right, allowing the device to scan your ears. Follow the on-screen instructions carefully until the process is complete.

Finish Setup and Enable Spatial Audio
Once the scanning process is complete, click 'Done' (done) to finalise (finalize) setup. You'll be able to activate or deactivate Spatial Audio by settin (setting) it up, or clicking on Stop Using Personalized Spatial Audio (Stop Using Personalised Spatial Audio). Enjoy your new immersive audio experience with your AirPods Pro 3.