How to Rename Apple AirPods Pro 3 on Android

Welcome to our step-by-step guide on how to rename your Apple AirPods Pro 3 using an Android device. Whether you're using stock Android or a customised version, we'll walk you through the process to ensure your earbuds are personalised just the way you like them.
Step 1: Access Bluetooth Settings
To get started, unlock your Android device. Locate and open the main Settings app, which is usually represented by a gear icon on your home screen or within your app drawer. Once inside the Settings menu, scroll to find the Bluetooth or Connected Devices section.


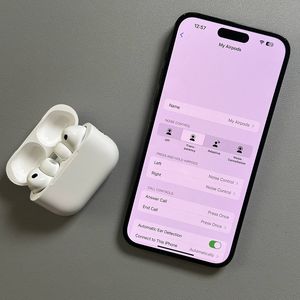
Step 2: Find Your AirPods Pro 3 in the Device List
Scroll through the list of connected devices until you see your Apple AirPods Pro 3. Once located, tap the information or settings icon next to the earbuds. This icon might look different depending on your device; it could be a small 'i' or a gear symbol.

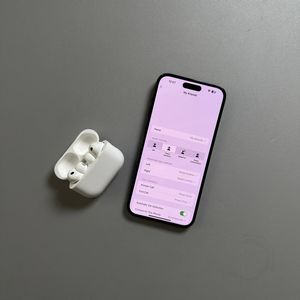
Step 3: Rename Your AirPods
Once you've accessed the menu for your AirPods Pro 3, look for a pencil icon adjacent to the current name of the earbuds. If your device doesn't display a pencil icon, you might see a line indicating where the name can be edited. Tap this pencil icon or the specified line to start editing the name.


Step 4: Save the New Name
Enter your desired name for the AirPods Pro 3. Once you have finished typing the new name, confirm the change by tapping the rename button. The button might appear as a check mark, "Done" (done), or simply "Rename" (rename), depending on your Android device.


Congratulations, your Apple AirPods Pro 3 now have a brand new name on your Android device!