How to Easily Edit Slow Motion Videos on Nothing Phone (3)
- 1 Step 1: Open the Gallery Application
- 2 Step 2: Locate and Tap Your Slow-Motion Video
- 3 Step 3: Access the Video Editing Tools
- 4 Step 4: Switch to the Slow-Motion Adjustment Tool
- 5 Step 5: Define the Slow-Motion Section on the Timeline
- 6 Step 6: Save Your Changes
- 7 Step 7: View the Final Edited Result
- 8 In Other Languages
Slow motion videos are a great way to capture dynamic moments, but sometimes you only want the effect applied to a specific, dramatic part of your clip. Fortunately, the default Gallery app on your Nothing Phone (3) includes a simple, built-in editor that allows you to easily adjust where the slow-motion effect begins and ends. Follow this friendly, step-by-step guide to fine-tune your slow-motion footage in no time!
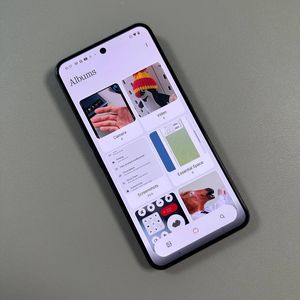
Step 1: Open the Gallery Application
To get started, you'll first need to unlock your Nothing Phone (3) device and open the main Gallery application. You can usually find the icon for this app (sometimes labelled "Photos" or "Gallery") on your home screen or within the app drawer.
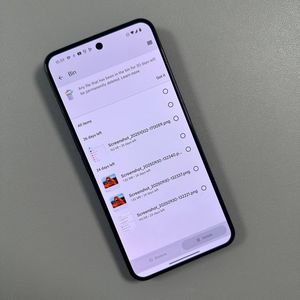
Step 2: Locate and Tap Your Slow-Motion Video
Once the Gallery is open, navigate through your albums and locate the specific slow-motion video you want to edit. Tap on the video thumbnail to open it in full-screen viewing mode. Make sure it is the correct clip before proceeding!

Step 3: Access the Video Editing Tools
Look toward the bottom of the screen for the editor toolbar. You will see several icons here. Tap the "pencil" (pencil) icon, which is the universal symbol for editing. This action will load the full editing interface for your video.

Step 4: Switch to the Slow-Motion Adjustment Tool
Once you are in the main editor, you need to select the specific tool for adjusting the speed. Look for an icon that resembles a "pan" (pan) or a hand, which is usually the initial cropping tool. Tap this icon once to switch it to the "circular pointer" (circular pointer) or "speedometer" (speedometer) icon. This circular pointer icon represents the slow-motion adjustment feature.

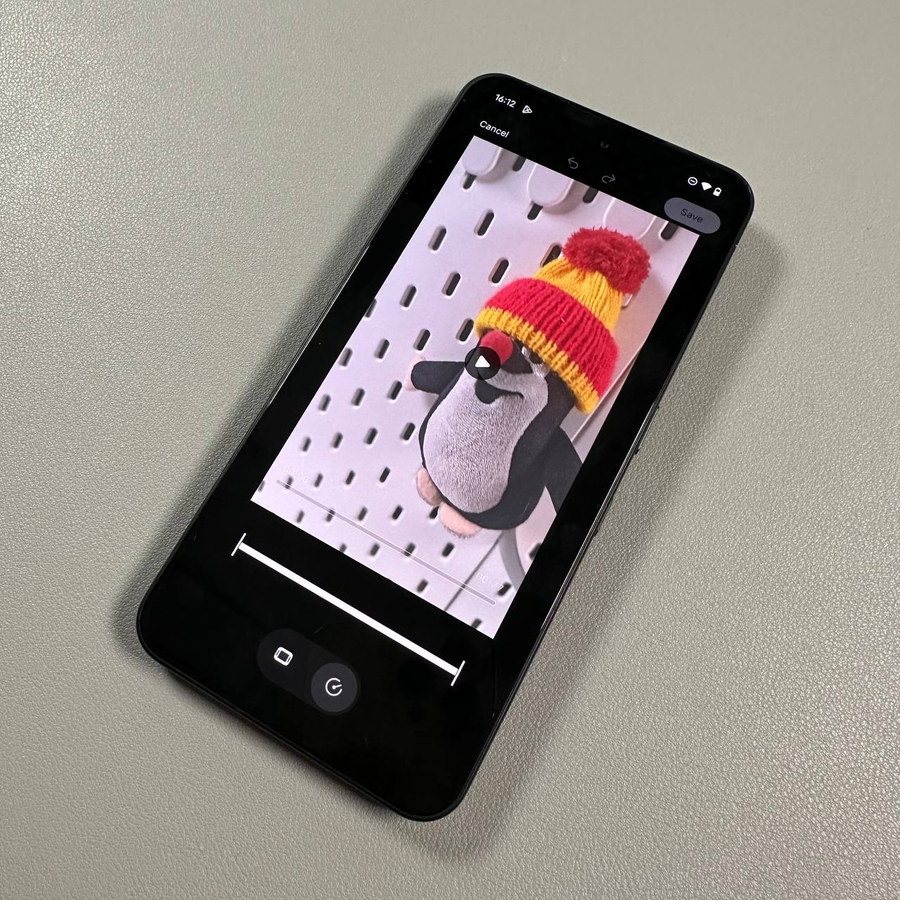
Step 5: Define the Slow-Motion Section on the Timeline
You will now see a timeline at the bottom with a thicker section indicating where the slow-motion effect is applied. By default, this effect covers the entire video. To change this, drag the small vertical line markers (the editing handles) on the timeline. Slide these lines inward to select only the precise portion of the video where you want the slow-motion playback to occur.

Step 6: Save Your Changes
After you have previewed the video and are satisfied with where the slow-motion effect is applied, it's time to save your work! Locate and press the "Save" (save) button, which is typically found in the top right-hand corner of the screen. Your Nothing Phone (3) will process the changes and create a newly edited version of your video clip.

Step 7: View the Final Edited Result
Once the saving process is complete, the Gallery app will automatically display your finished video. Play it back to confirm that the slow-motion effect is applied exactly to the part you selected. You now have a perfectly edited slow-motion clip ready to share!