How to Record Screen on Samsung Galaxy A17 5G
Recording your screen on a Samsung Galaxy A17 5G can be an incredibly useful feature for creating tutorials, saving memorable gameplay moments, or even capturing video calls. Due to the lack of a built-in screen recording tool, this guide will show you how to use a third-party app to achieve this. Follow these simple steps to get your screen recording up and running in no time, with options to include voice and screen taps.
Step 1: Download a Screen Recording App
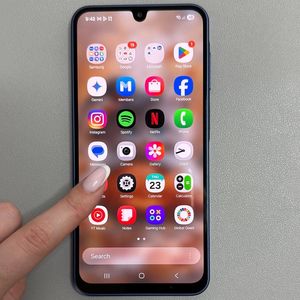
To begin the process, unlock your Samsung Galaxy A17 5G and locate the Google Play Store app. This is usually represented by a colourful play button icon on your home screen or within your app list. Proceed to open the Google Play Store and search for a reliable third-party screen recording application. There are several options available, but for this guide, we'll use X Recorder as an example. Once you've found your desired app, tap "Install" (install) to download it to your device.

Step 2: Launch and Set Up the App
After the app has finished installing, find it within your app list and tap "Open" (open) to launch it. The app will guide you through some initial setup steps, during which you will grant it necessary permissions to function properly. This might include access to your microphone, storage, and screen overlay settings. Follow the on-screen prompts to complete setup, ensuring microphone access if you plan to include your voice in the recordings.

Step 3: Configure Recording Options
Before starting your screen recording, decide whether you want to include audio or not. In the app settings, you'll find options to enable or disable microphone recording, which allows you to narrate your actions. Additionally, you can choose to display touches on the screen, highlighting taps and gestures for a clearer demonstration.


Step 4: Begin Screen Recording
Once the setup and configurations are complete, you are ready to start recording. Open (open) the app and look for the record button. Before you begin, consider what you want to capture. You can choose to record the entire screen or limit it to a single app. Once you've decided, tap "Record" (record) and the app will likely ask you to confirm permissions again to capture audio or video. After granting all necessary permissions, a countdown will begin, signaling when the recording starts.

Step 5: Use Recording Features
During the recording process, you can "Pause" (pause), "Resume" (resume), or "Stop" (stop) the recording via on-screen controls. Additionally, some apps like X Recorder offer features such as screen annotation, allowing you to draw on the screen. If you want to erase, pause, or change drawing colours, this is typically done through an intuitive menu in the app.

Step 6: Save and Locate Your Recording
After stopping the recording, the file is automatically saved to your device. To locate your footage, navigate to the gallery app on your Samsung Galaxy A17 5G. If the recording isn't immediately visible, check under the "Albums" (albums) tab, specifically within a folder named after your recording app, such as "X Recorder". Your screen recordings will be stored here for easy access.

With these steps completed, screen recording on your Samsung Galaxy A17 5G is now effortless!