Samsung Galaxy A17 5G - How to Insert SIM and SD Card

Welcome to this easy-to-follow guide on inserting a SIM and SD card into the Samsung Galaxy A17 5G. Whether you're a new smartphone user or just new to this device, we've got you covered with simple steps. Follow along to set up your device correctly.
Gathering the Necessary Tools
To get started, locate a SIM eject tool. One typically comes with the Samsung Galaxy A17 5G in the box. If it's unavailable, a straightened paper clip will work as a suitable alternative. Keep this tool ready to assist with the SIM and SD card insertion process.

Accessing the SIM and SD Card Tray
Hold your Samsung Galaxy A17 5G and find the SIM and SD card tray on the top left side of the phone. Notice a small pinhole at the side of the tray. Insert your SIM eject tool or paper clip into this pinhole, applying gentle pressure until the tray pops out slightly, enough to pull out the tray completely.

Arranging the SIM and SD Card
The tray provides slots for two SIM cards or one SIM card plus one SD card. To utilise the dual SIM feature, place SIM cards sideways into the tray. If you want one SIM card and one SD card, align each card in its designated slot. Ensure the cards lay flat and securely within their positions on the tray.

Inserting the Tray Back into the Device
Once properly seated, gently slide the tray back into the Samsung Galaxy A17 5G until it fits snugly. Your phone should automatically detect the installed SIM and SD cards, signalled through notifications of active mobile networks and expanded storage availability.

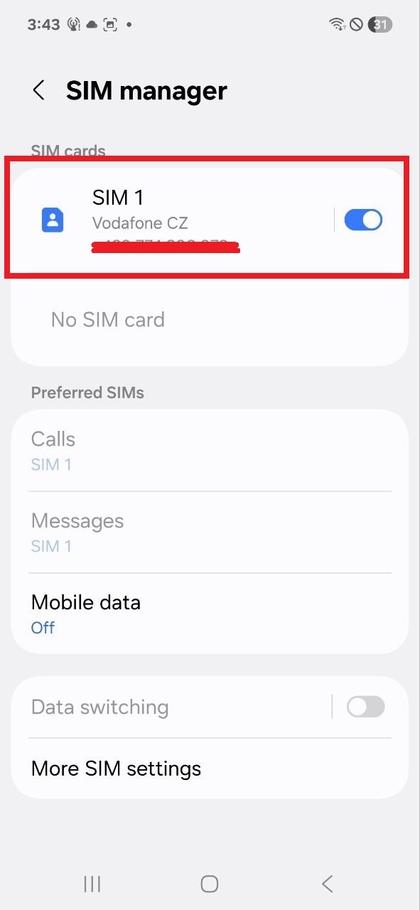
Confirming Card Functionality
After successful insertion, observe your Samsung Galaxy A17 5G for connectivity status notifications. These alerts confirm the SIM card is operational and the additional storage from the SD card is accessible. Now your device is ready to be fully utilised!