Apple AirPods 4 with Active Noise Cancellation (ANC) - How to Rename on an iPhone
Renaming your Apple AirPods 4 can be a quick and easy way to personalize your listening experience. With this guide, you'll learn how to effortlessly rename your AirPods on your iPhone in just a few simple steps.
Step 1: Access Bluetooth Settings
Begin by unlocking your iPhone and navigating to the main Settings app. Look for its distinctive gear-shaped icon on your home screen or within your app library. Once the app is open, scroll down slightly until you find the option labeled 'Bluetooth'. Tap on it to enter the Bluetooth settings.

Step 2: Locate Your AirPods
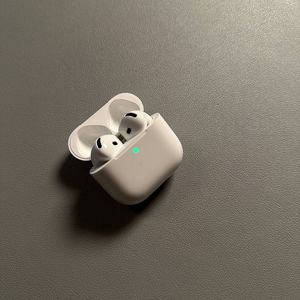
In the list of available Bluetooth devices, identify your AirPods. They should appear under the 'My Devices' section. Look for the current name assigned to your AirPods 4. It might be something straightforward like 'AirPods' or a custom name you've used before.

Step 3: Access Device Info
Tap on the 'i' icon, which stands for 'information', next to your AirPods' name. This will take you to a detailed overview screen for your AirPods' current configuration and connection status.

Step 4: Rename Your AirPods
Within the detailed information screen, locate the 'Name' field. Tap on the current name of your AirPods to activate text input. Enter your desired new name for your AirPods 4 here. Once you're satisfied with the name change, tap 'Done' on your iPhone keyboard to save your new name.


Step 5: Confirm the Name Change
After completing the above steps, return to the main Bluetooth menu to ensure your AirPods now display the new name. This confirms that the renaming process was successful.